Ready for painting and decorating

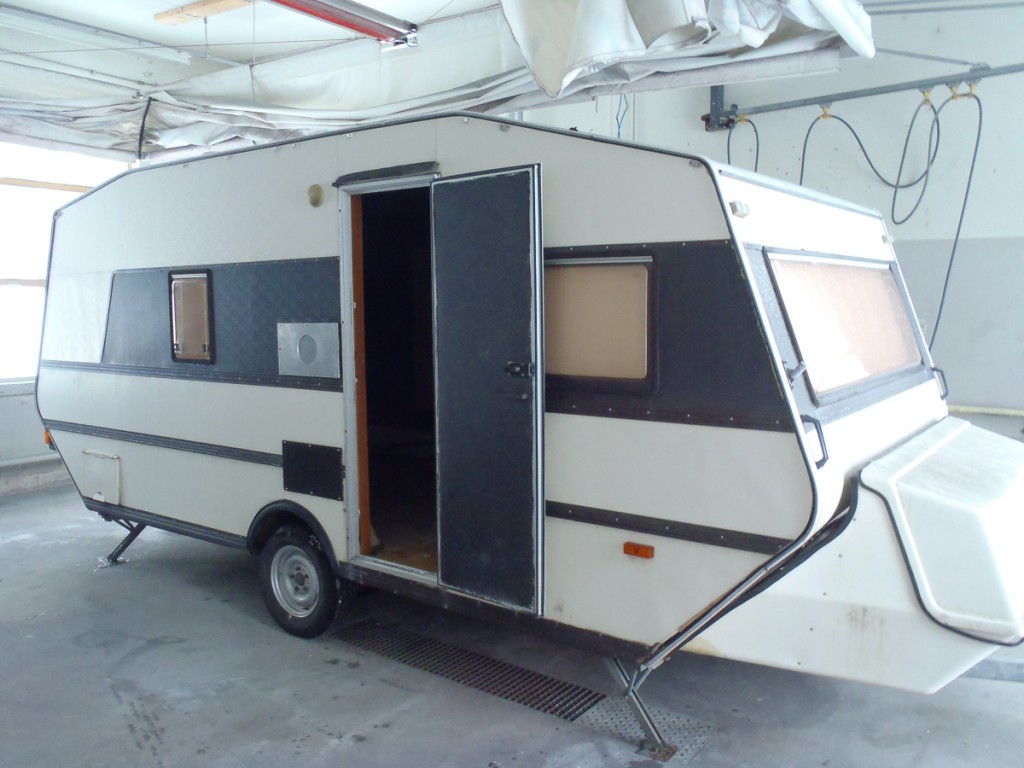
The Cameravan is now placed indoors. I will paint and decorate it during Easter week, the only week I could get room for it. Weather forecast is not very good, so it seems a nice activity, after all.

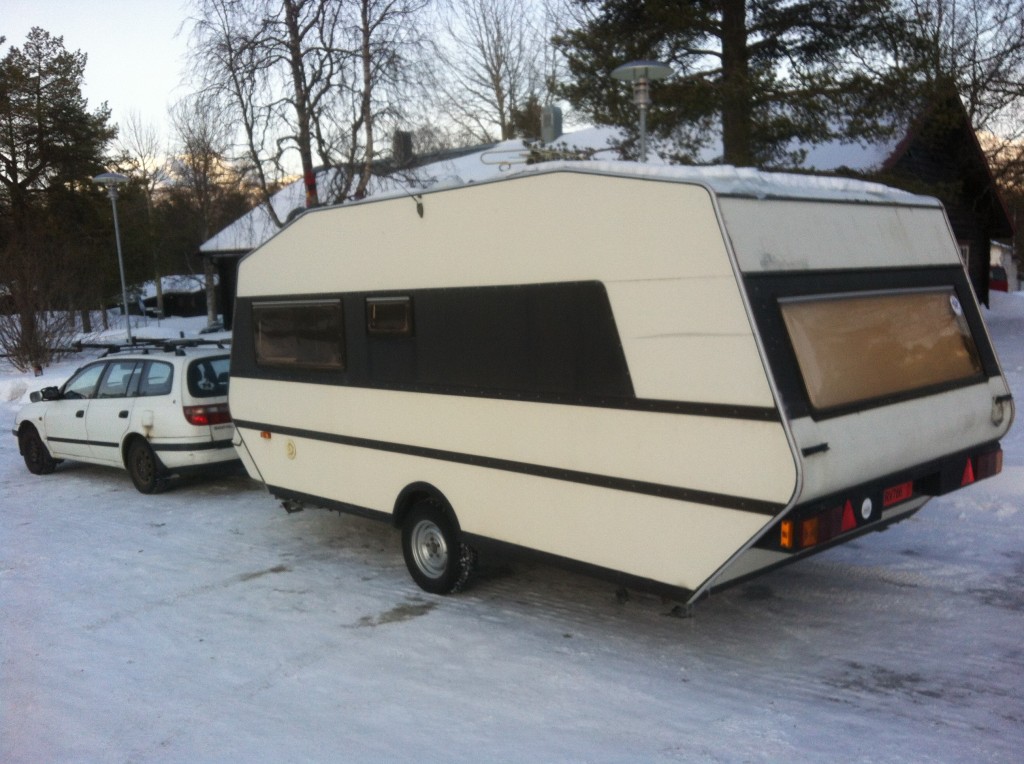
Checking lights before moving the van. It proved that my car had foulty connections to the van, so I had to use another car.

Checking lights before moving the van. It proved that my car had foulty connections to the van, so I had to use another.


Ready for painting

Ready for painting

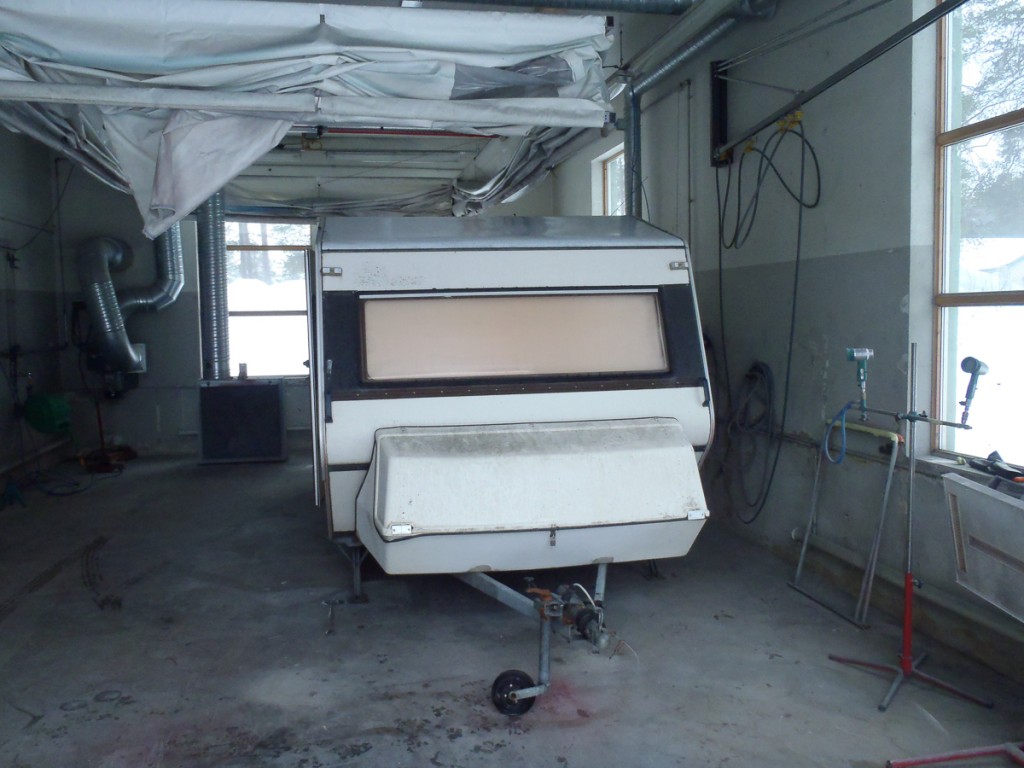
In the garage, this side will be painted first. This is the Camera front.

In the garage, this side will be painted first. This is the Camera front.


The Cameravan will hopefully dry up during the weekend so it is ready for painting monday morning.

First time with real glass

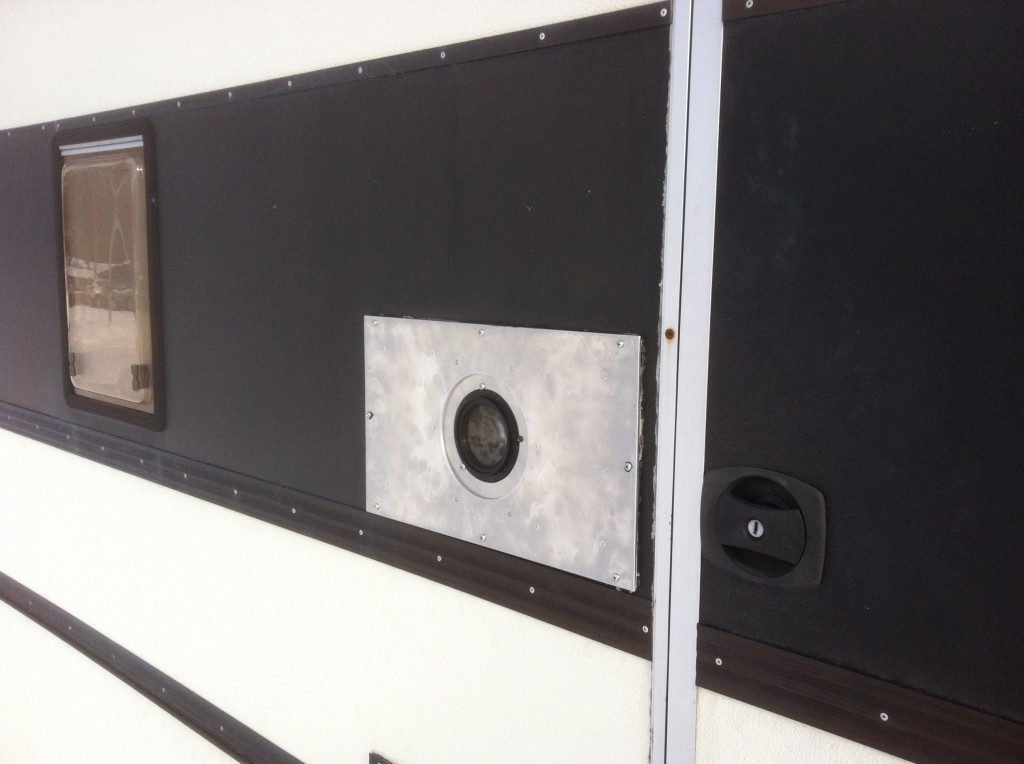
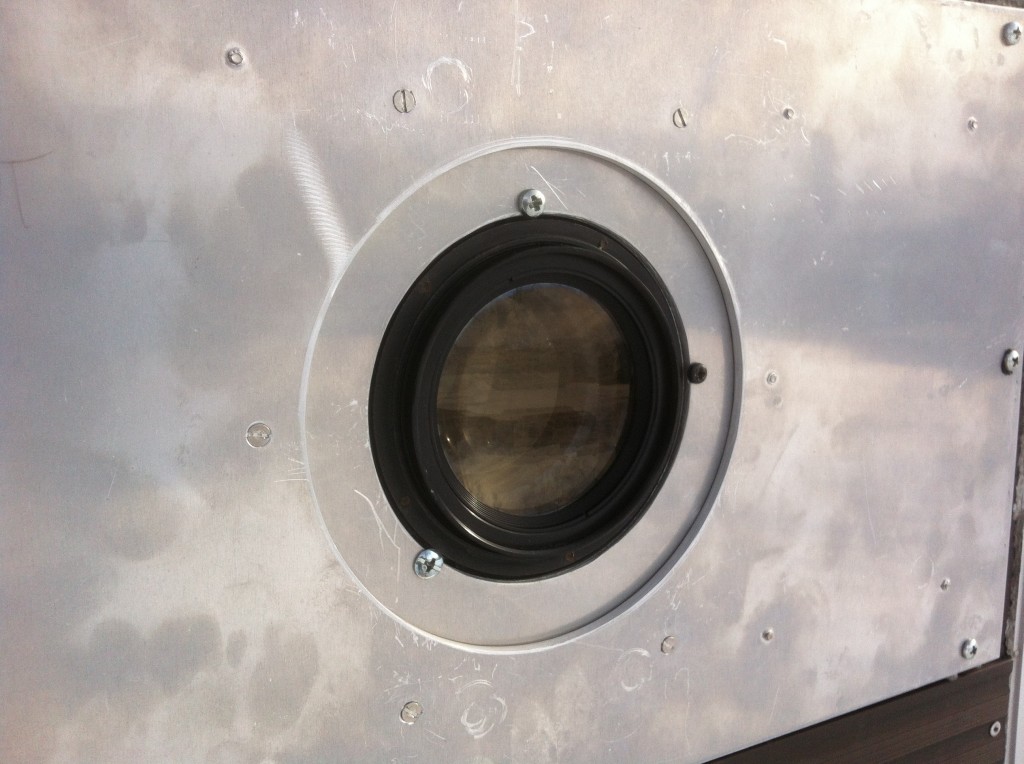
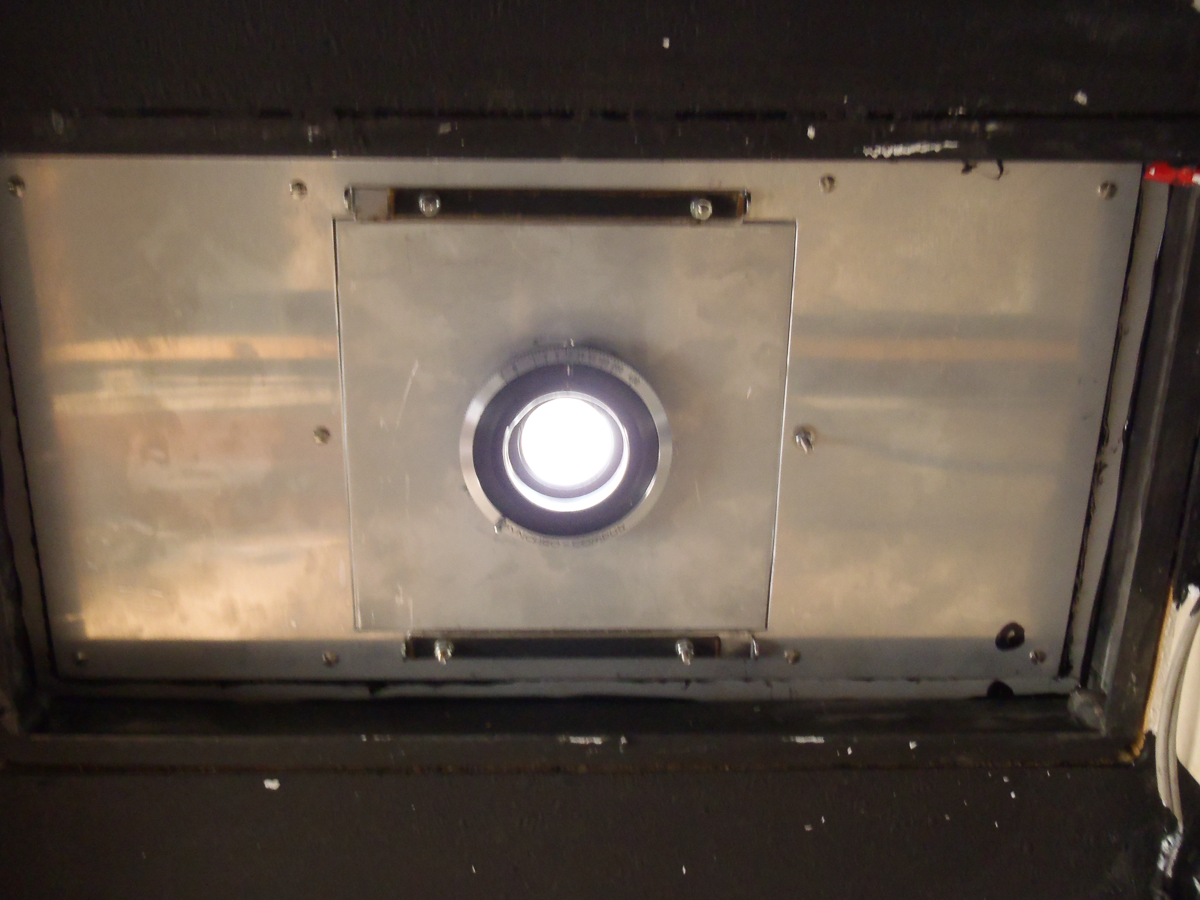
A Rodenstock Apo-Ronar 600mm f:9 technical lens can now be used in the Cameravan. The lens is mounted to the lens plate from the front of the lens, so it can be handled from the inside of the camera. It can also be mounted on the outside, there are threads both front and back of the lens. A short test showed that a 1:1 photo will fill a 70x100cm film area without problems, and a 2:1 photo will fill even more. That’s some macro lens 🙂

A trailer with a lens. 600mm Apo Ronar seen from the outside of the trailer.

A trailer with a lens. 600mm Apo Ronar seen from the outside of the trailer.


A closer look at the lens:

Almost two kilograms of glass in front of the Cameravan.

Almost two kilograms of glass in front of the Cameravan.

Next post will give you a picture of what this lens can give inside the Cameravan.


«Lens mount» finally in place.

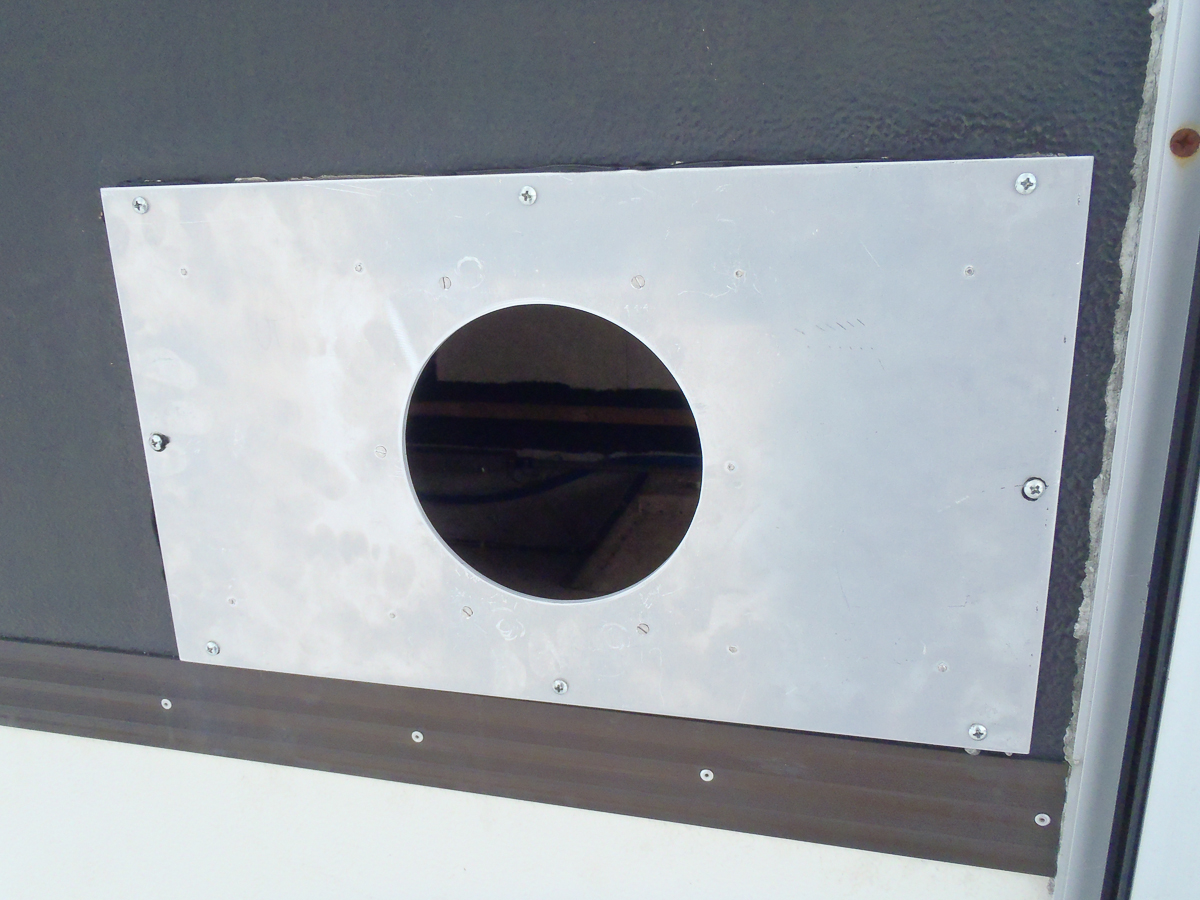
At last the «lens mount» is in place on the Giant Mobile Camera, and now it is possible to change between different holes, and even lenses, too.

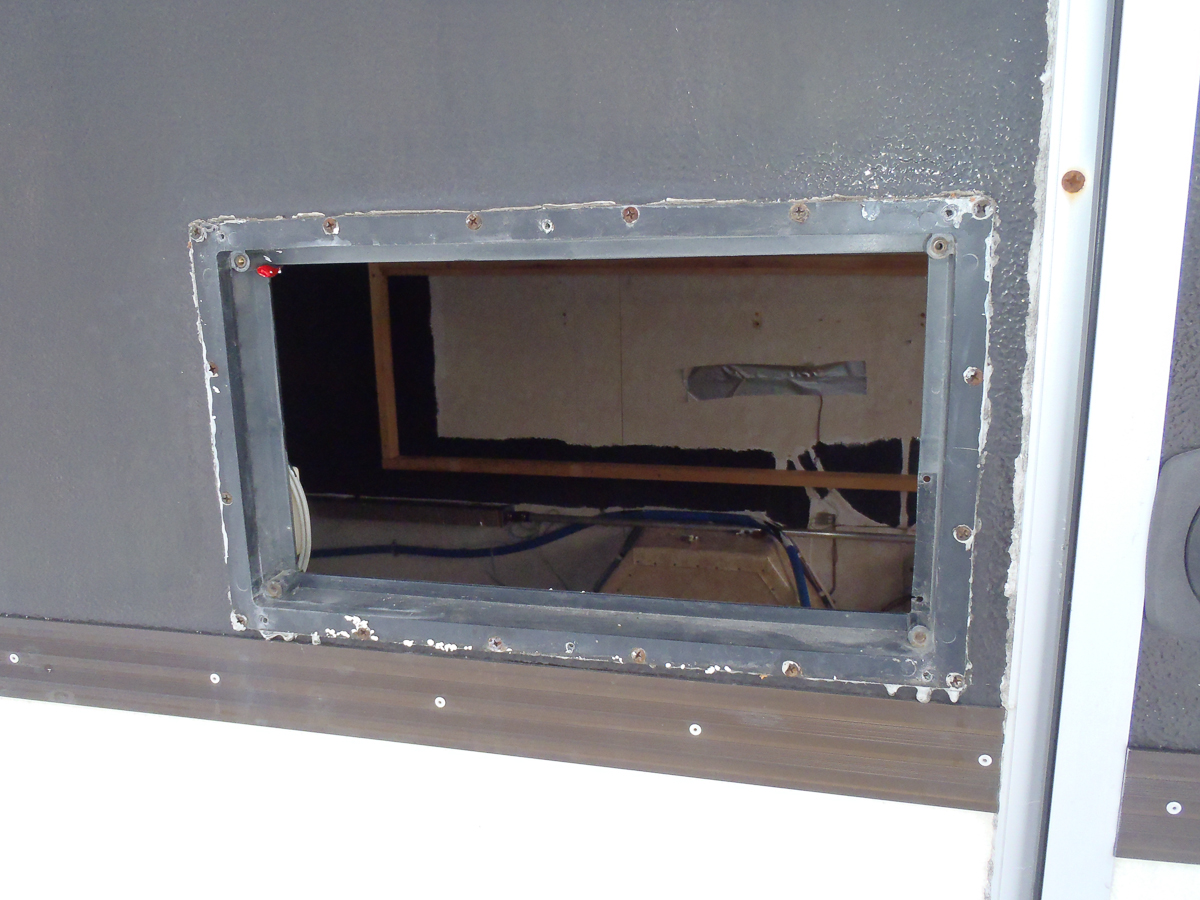
This is where the "lens mount" is supposed to be placed.

This is where the «lens mount» is supposed to be placed.

objektivplate-2

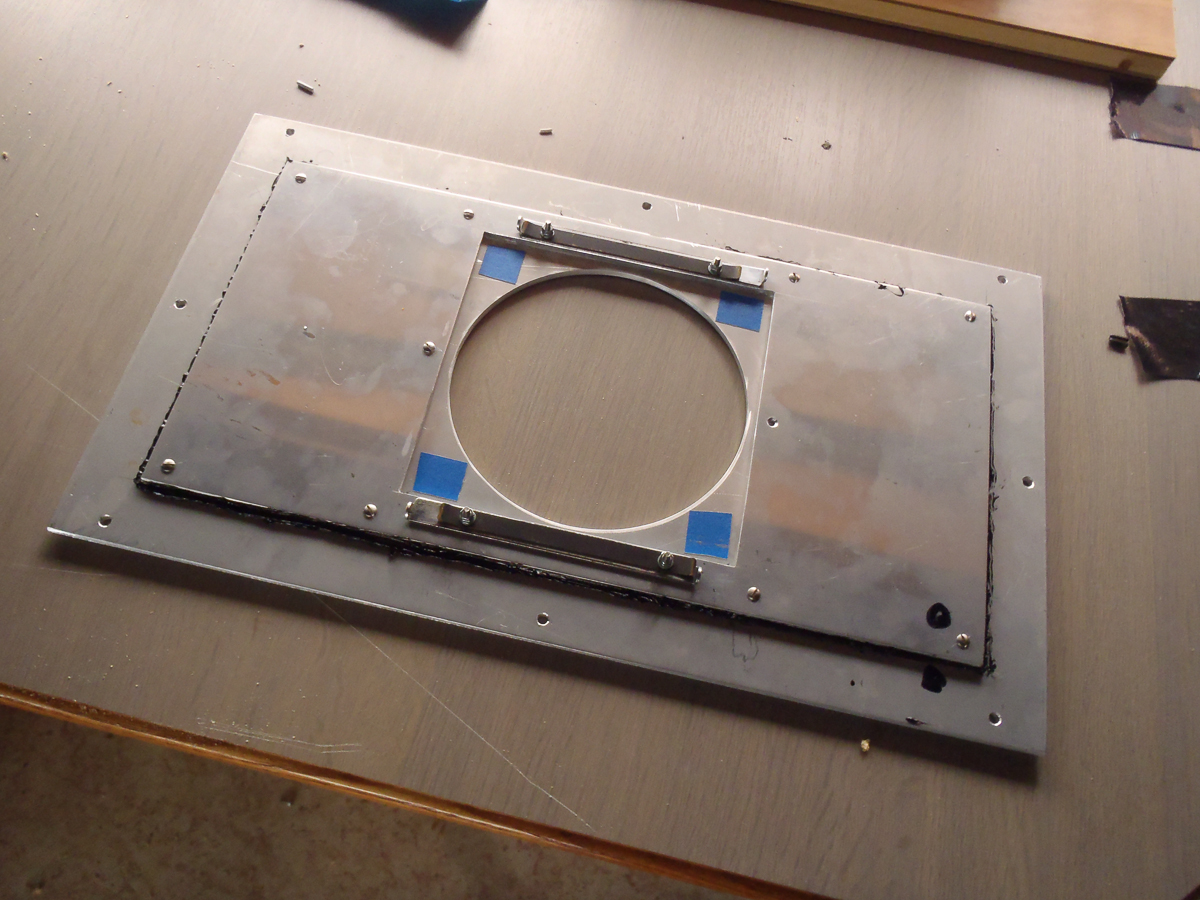
This is the lens mount. It has an old lock system from a Graflex Crown Graphic to hold the «lens plates»

objektivplate-3

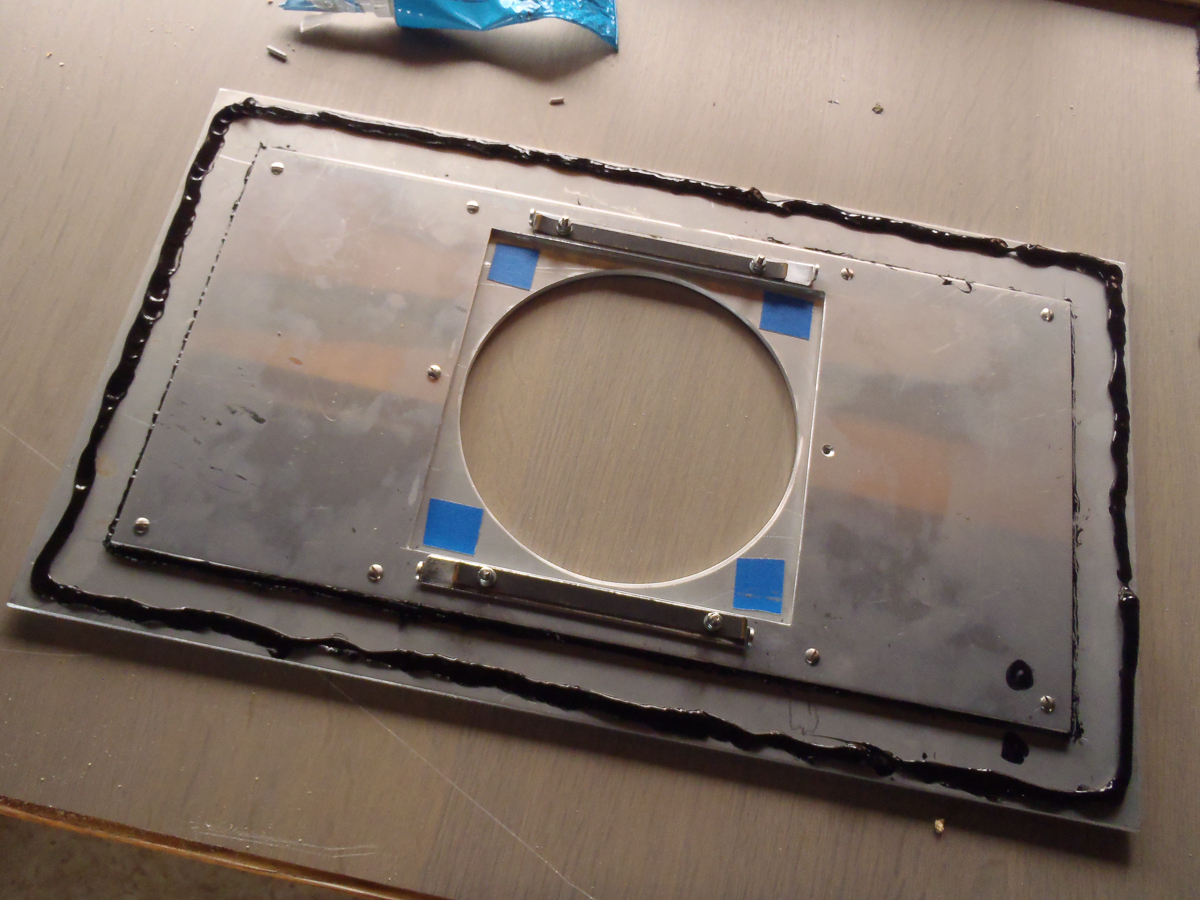
«Lens mount» with silicon glue

objektivplate-4

«Lens mount» from inside. The «lens plates» are mounted from inside the Cameravan. In case of a lens, it can also be mounted and handled inside the camera.

objektivplate-5

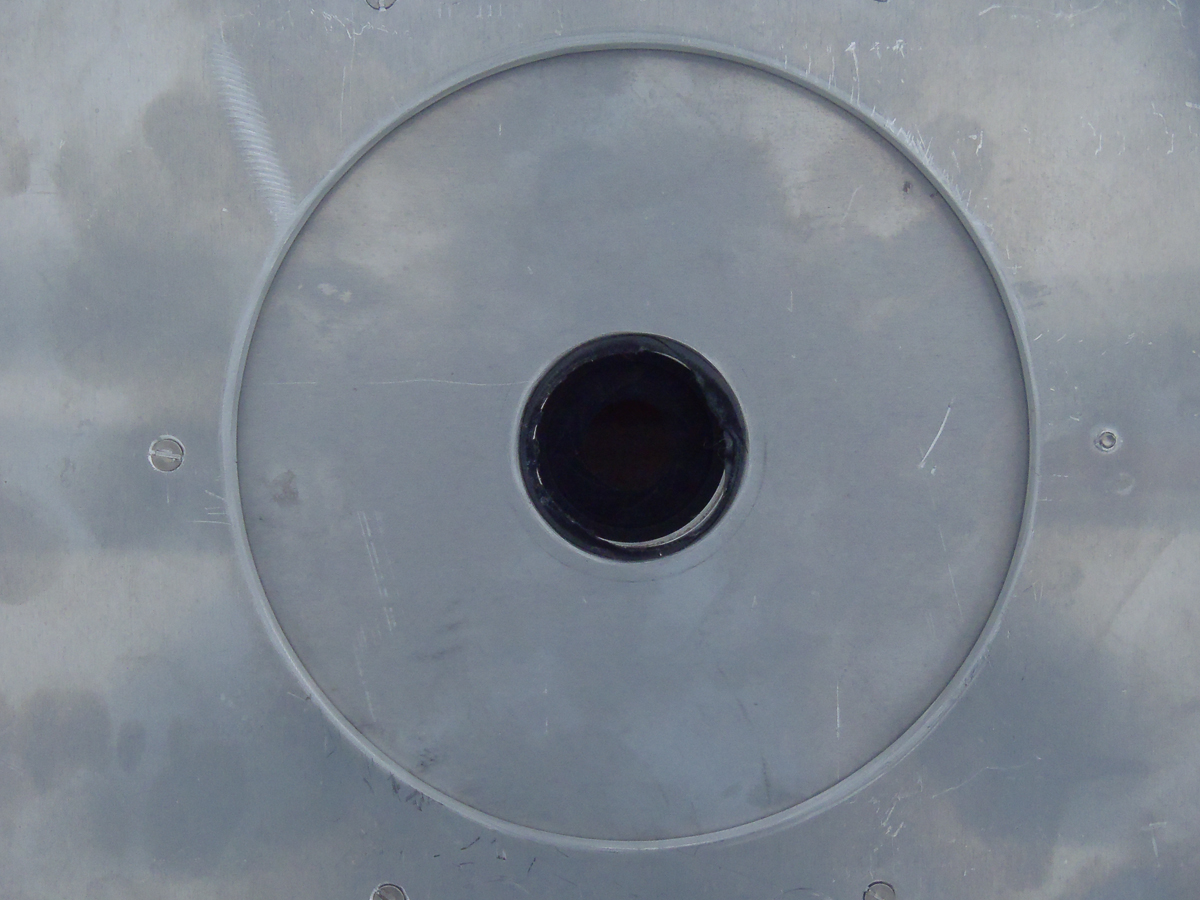
The diameter of the hole is 14 cm, room enough for a rather big lens.

objektivplate-6

A «lens plate» with variable aperture

objektivplate-7

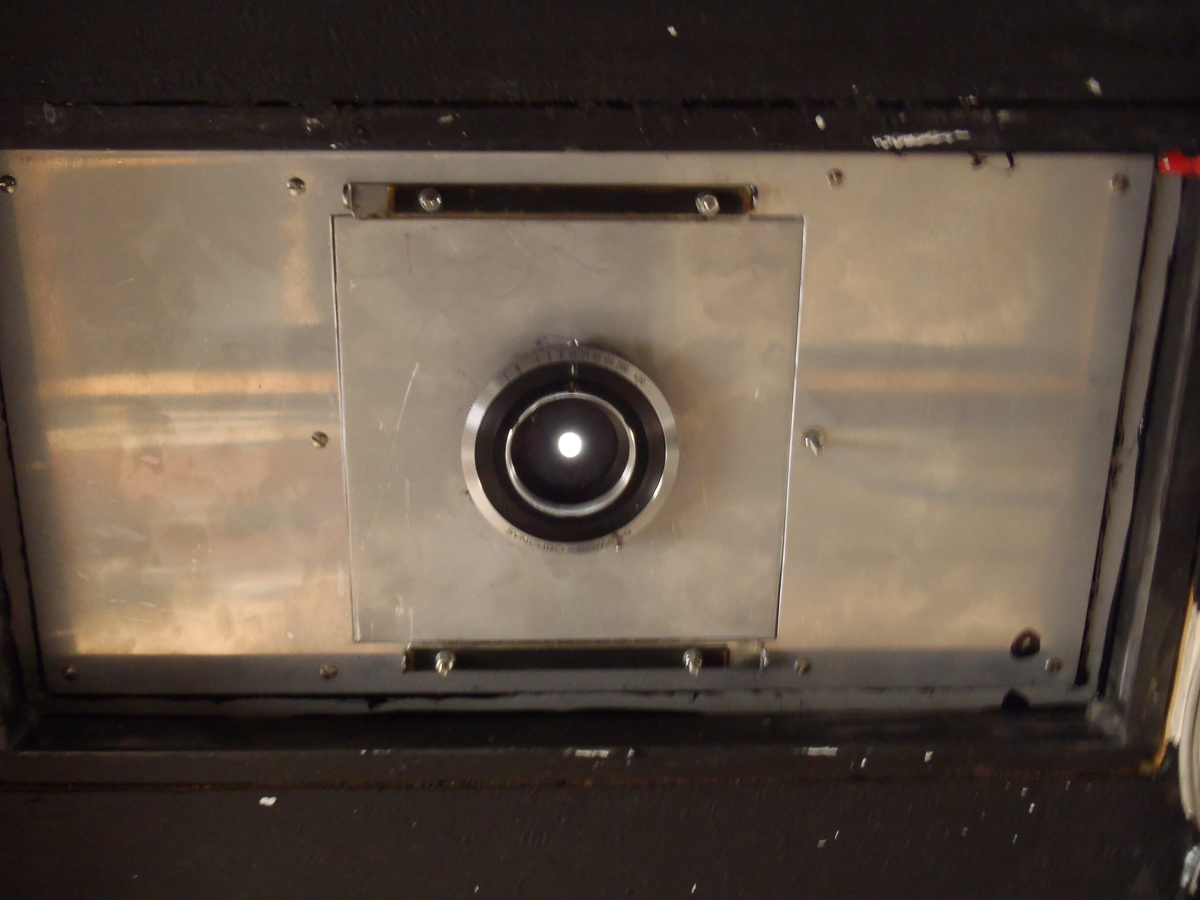
An old Compur shutter with all the shutter mechanics removed functions as a variable aperture. Quite nice, I think 🙂

objektivplate-8

Full opening

objektivplate-9

The aperture stopped down

Next is to make different shaped holes for demonstration purposes, for this I will be using slide frames with black tape inside. I have a «lens plate» ready for this. I will also make a holder for a 600 mm Apo-Ronar lens.


A thought projection inside the cameravan

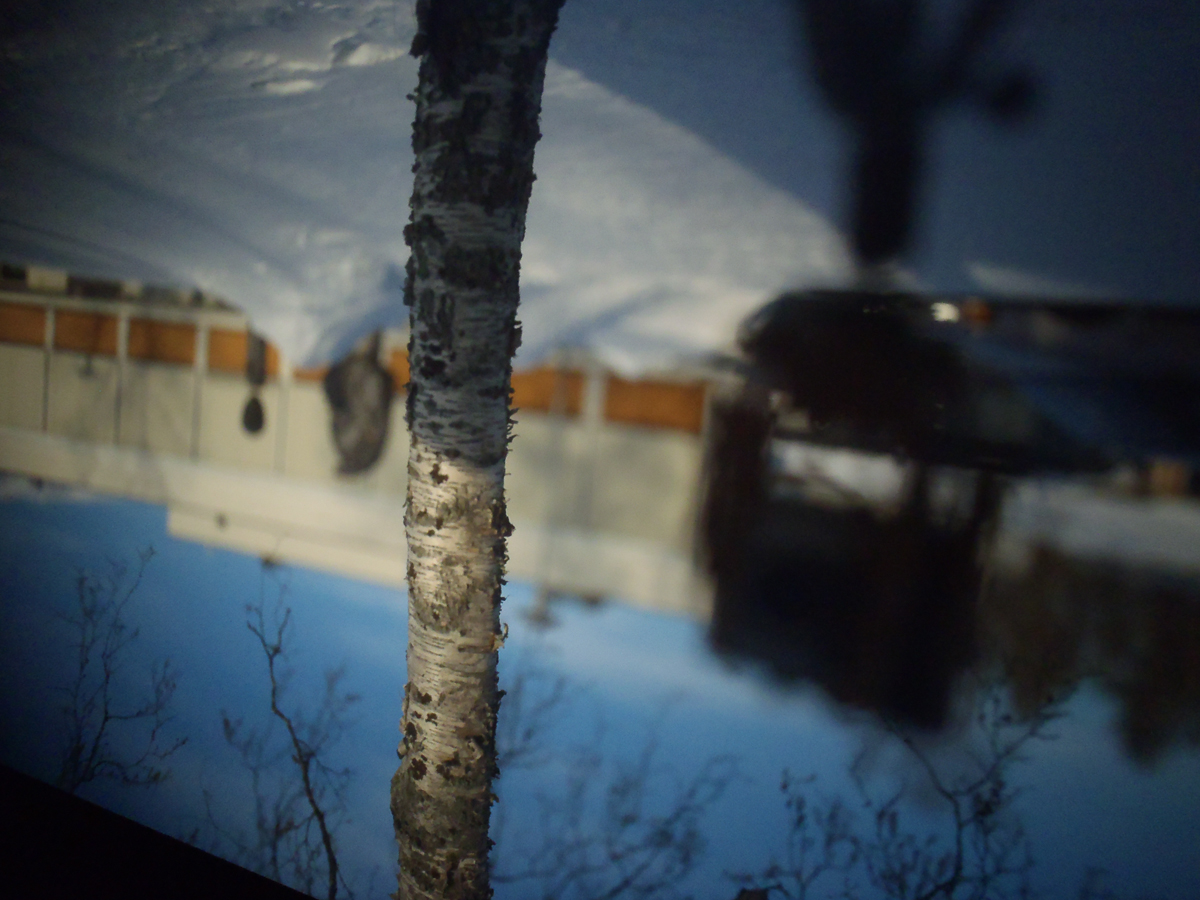
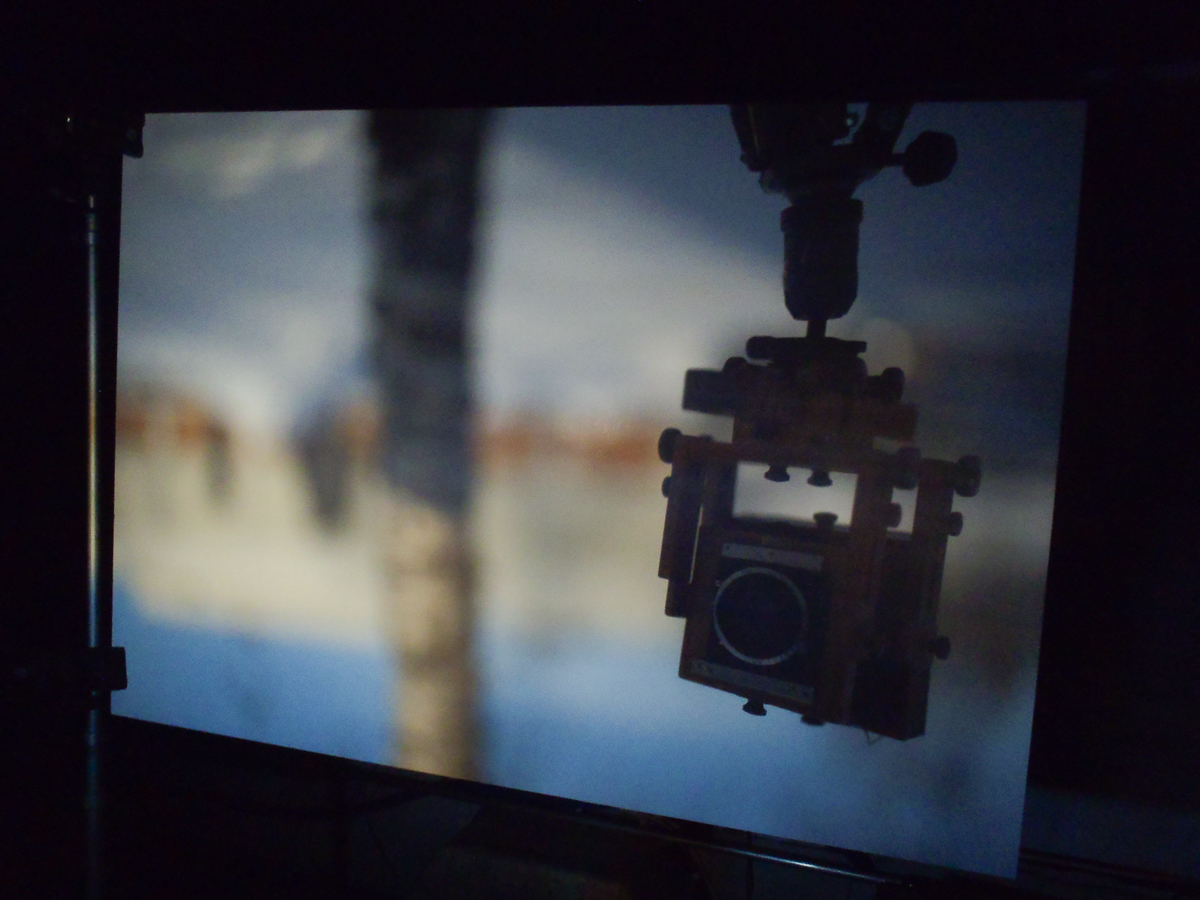
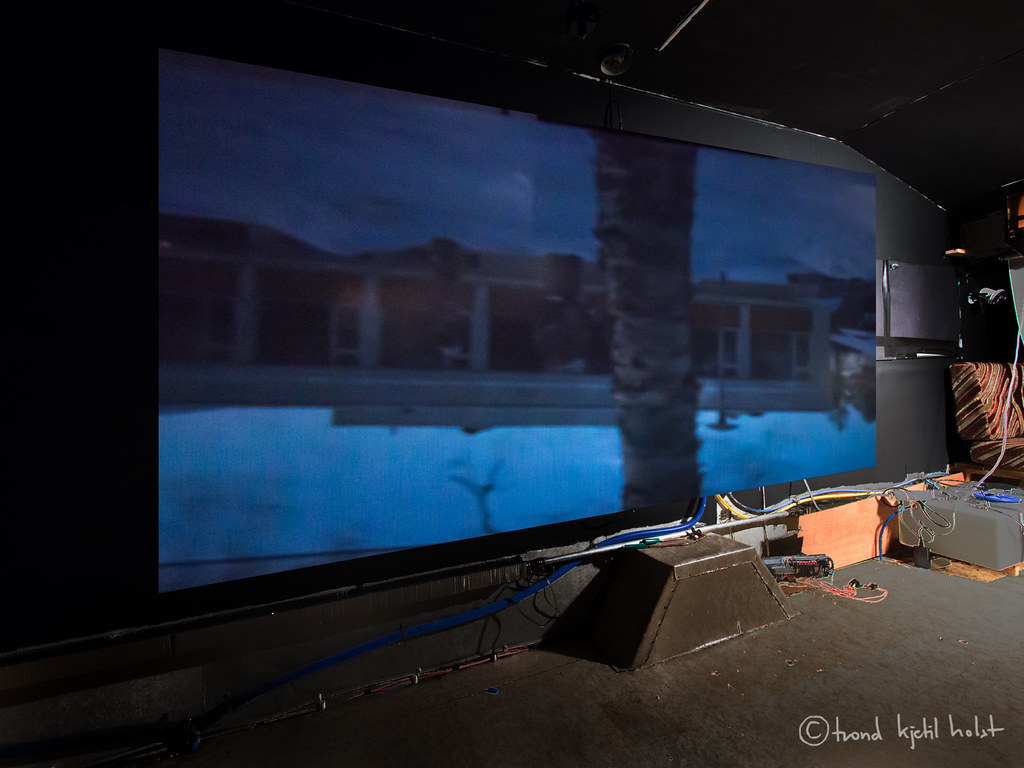
Here is a photoshopped combination of two pictures + an imaginary screen inside the cameravan:

A thought image projection inside the cameravan

Just to give you an impression: This is pretty much what it will look like inside the cameravan when it is finished. A little more tidying will probably be done.

In addition I will make a movable screen that is smaller and can be used for other types of photography.

A postcard – and fifty years after.

Around year 2000 I found a postcard from my hometown Honningsvåg taken 1951, three years before my birth. How cool wouldn’t it be to take a picture from the same spot, exactly fifty years after. So I did find the spot where the photographer must have stood back in 1951, and in 2001 i took a picture from the same spot:

First the original postcard:

Postcard from Honningsvåg, 1951

Then my picture from 2001:

The picture I made in Honningsvåg 2001 - fifty years after

I have not published this before, in fact I had forgotten it, but today I came across the old postcard on a facebook link, and then I thought I had to publish it.

Clean and tidy

… and almost ready for painting.

Today I took out the kitchen bench and the other remains of the old camper. Now there is only an empty space left, except for a few sofas and some cupboards on the walls. And a mirror of course, you’ll need one when you’re getting photographed. (In reality I did not manage to get it off the wall, so I just left it)

Towards the rear (driving direction) of the camera


Clean, tidy and empty.

Towards the front (driving direction) of the camera

Image screen, a prelimenary one made of paper
The image screen, made of paper just for testing and demonstrations.


The «lens» side of the cameravan is on the right side, and the same side as the door. Screen/film side is on the left side. Cameravise that should mean front versus back, but trailervise it is right and left 🙂

The plan now is to do some small work to cover all light leaks. The roller curtains wan’t let any light through, so I just need to make some light traps around them. A little work to lightproof the skylights is also needed. Then there is some painting to be done. The camera has to be black inside, all over.