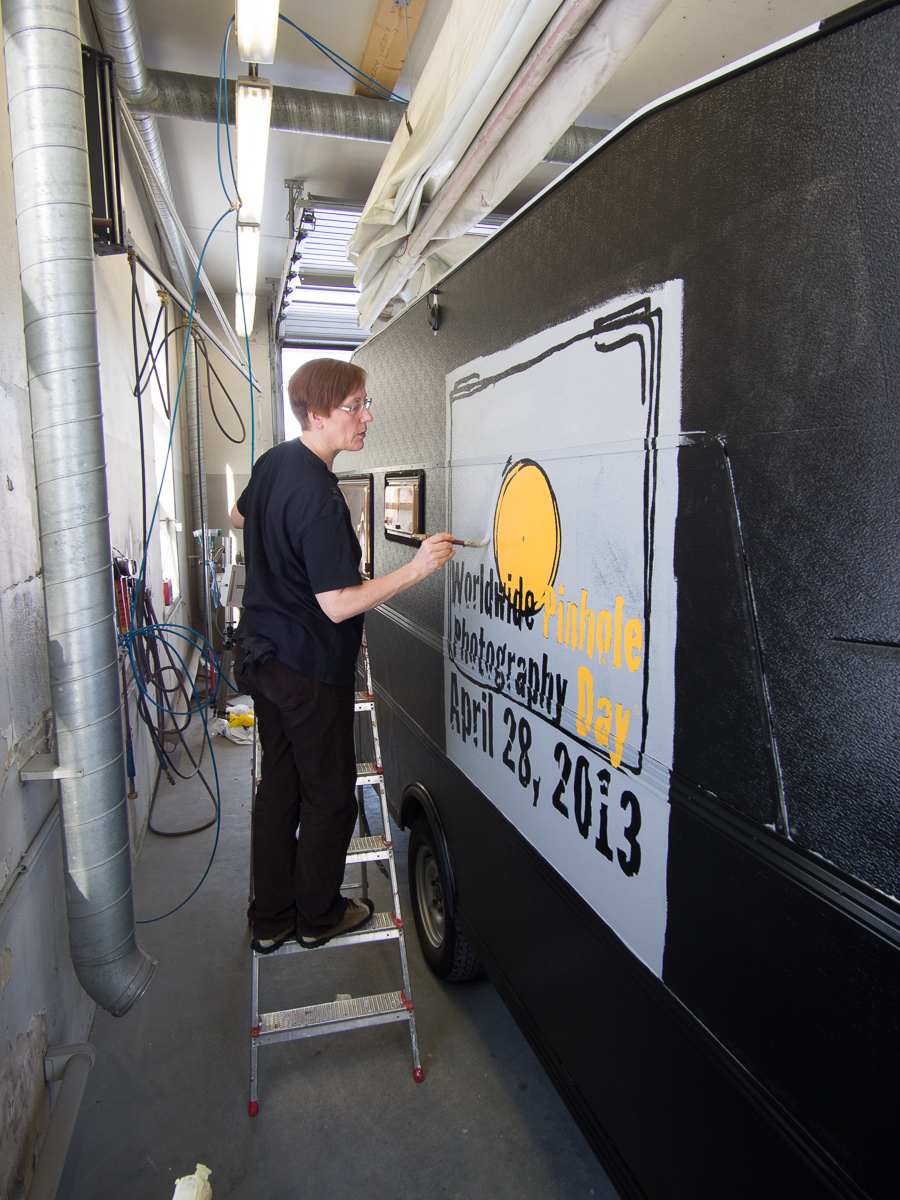
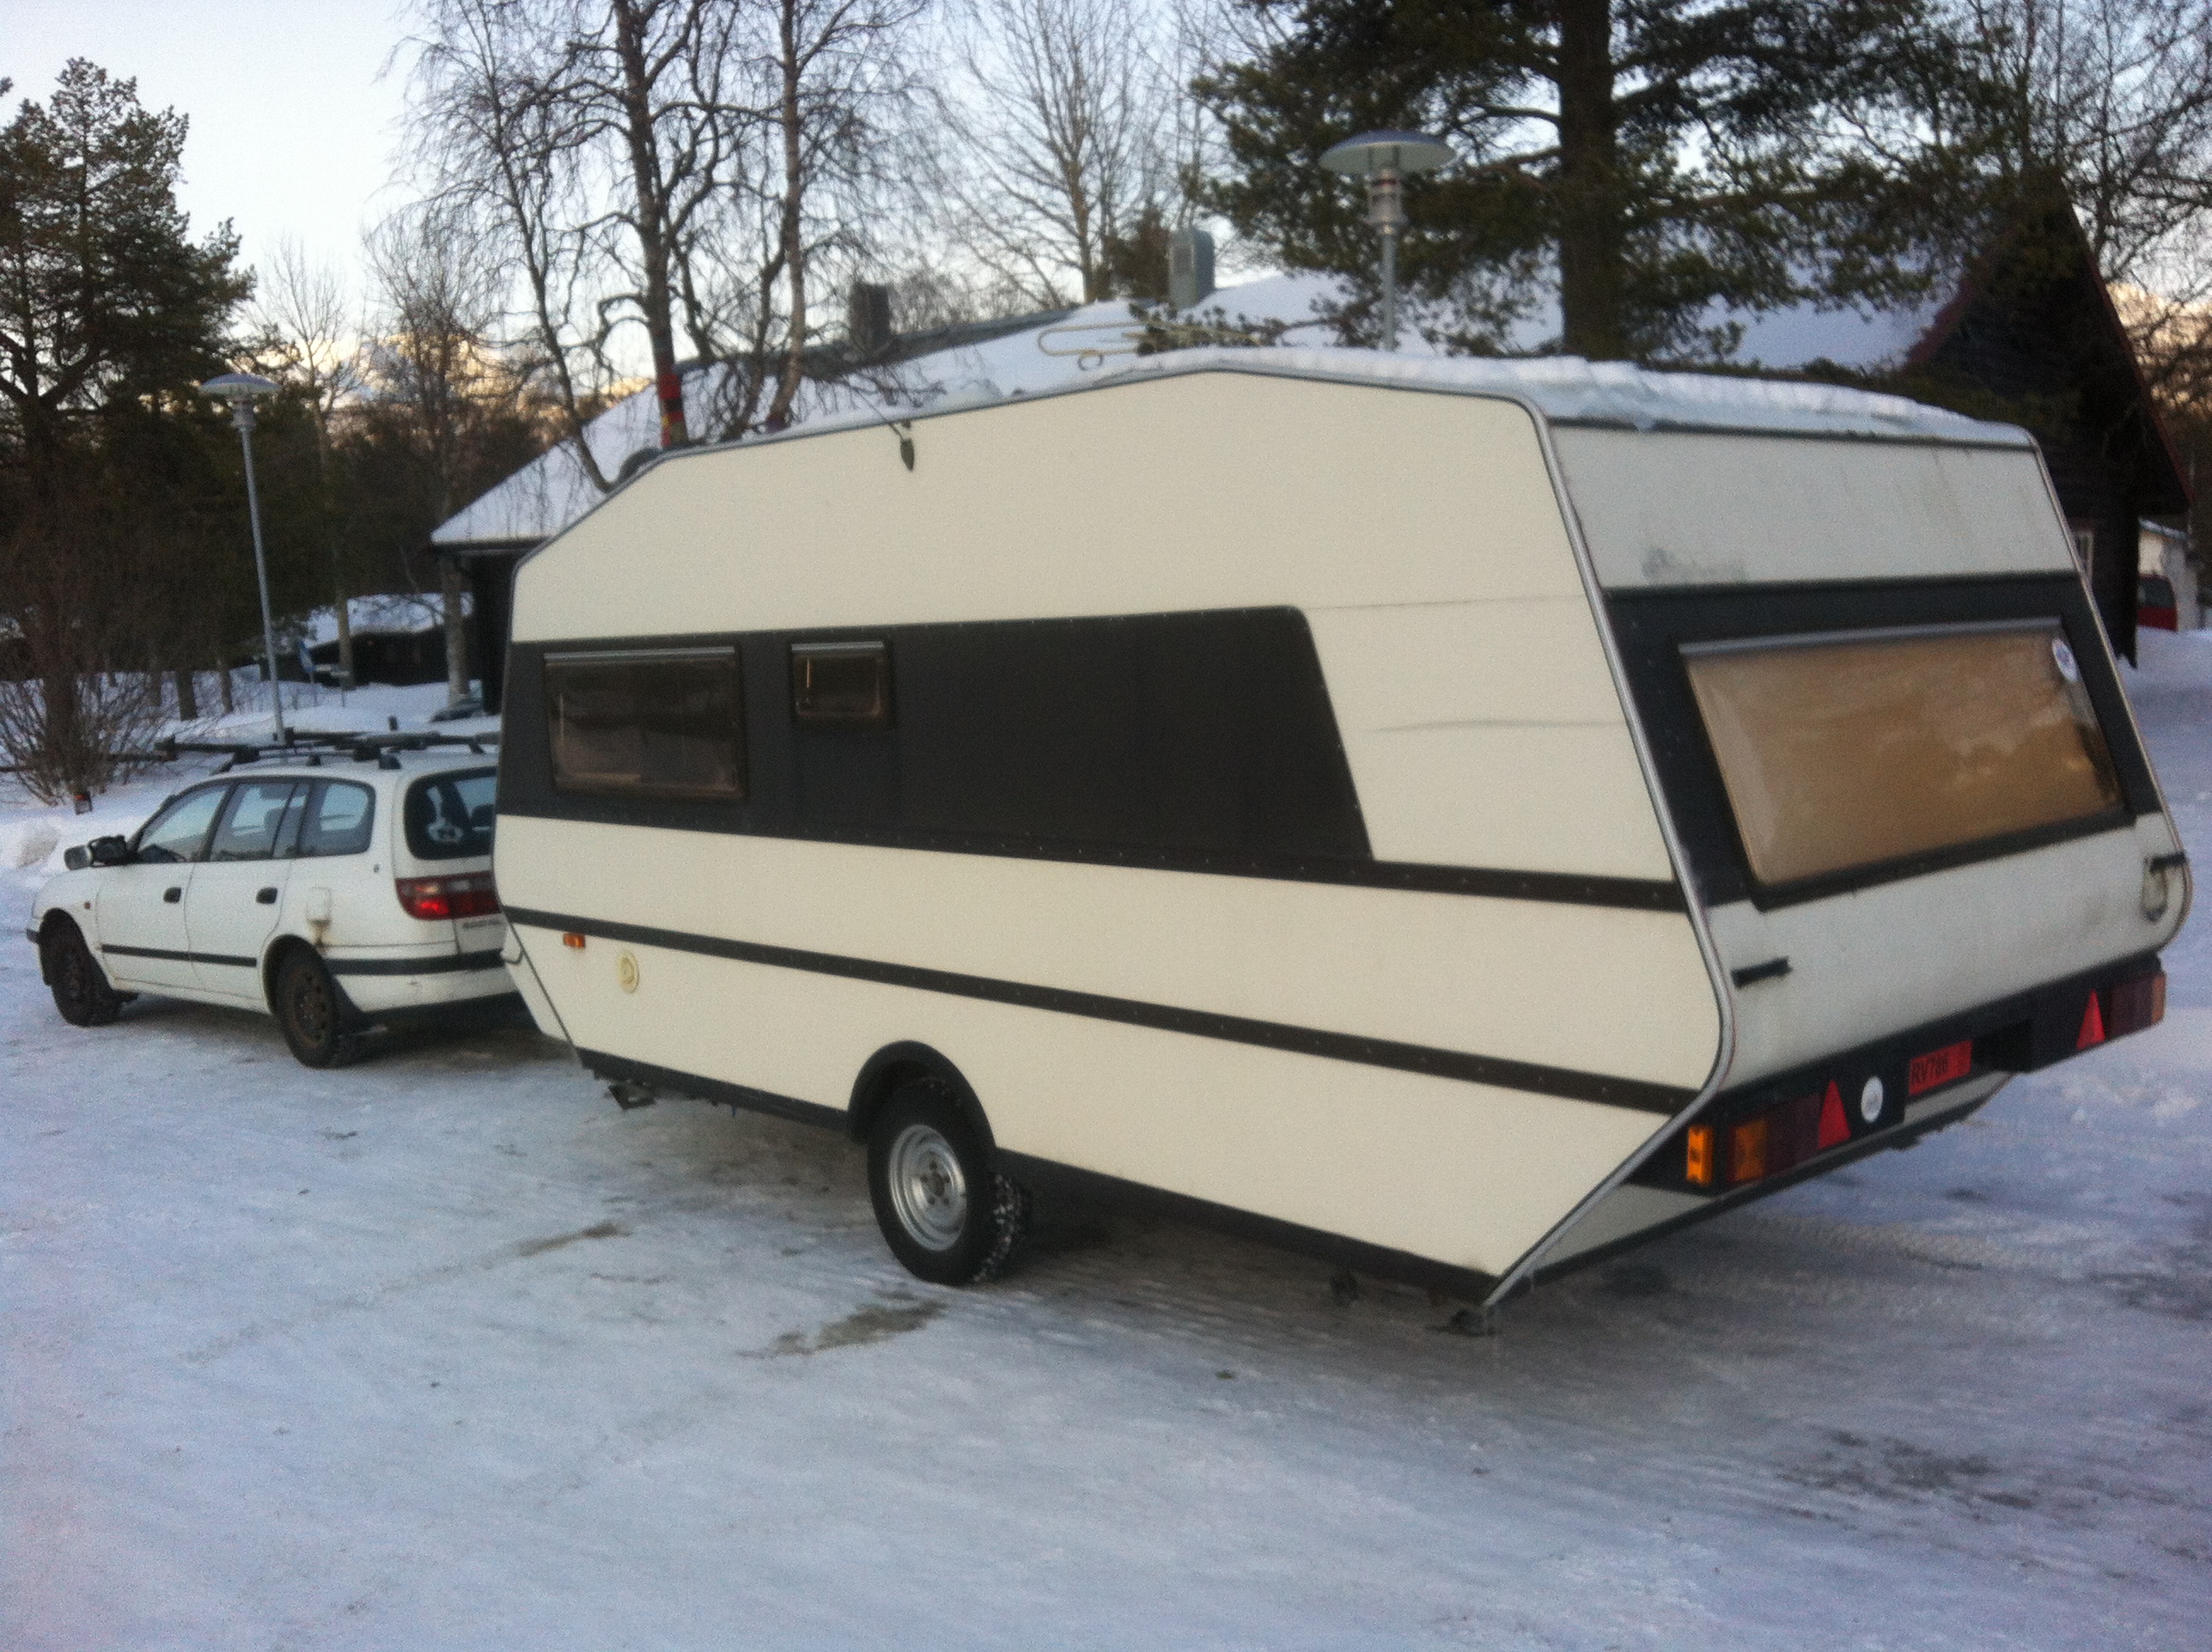
At last we got finished, Mervi and I. The Cameravan is (almost) ready for the road. It still needs some decoration in the form of letters, as can be seen in one of the pictures below, but they will come pretty soon after easter. Now I just have to wait for someone to take away all the snow in front of the garage, then I can take the Cameravan out and bring it back home.
For now, just enjoy the pictures, and if you have comments, please be welcome 🙂
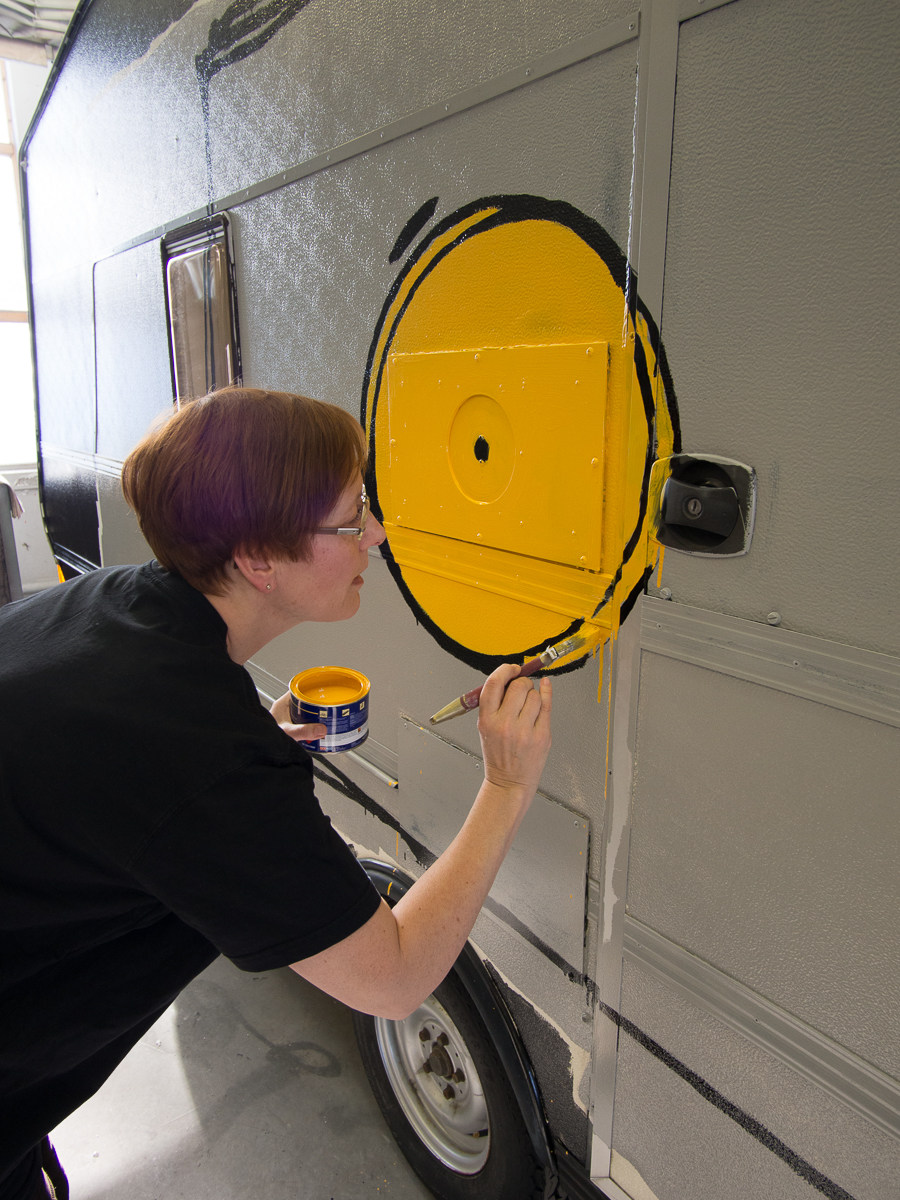
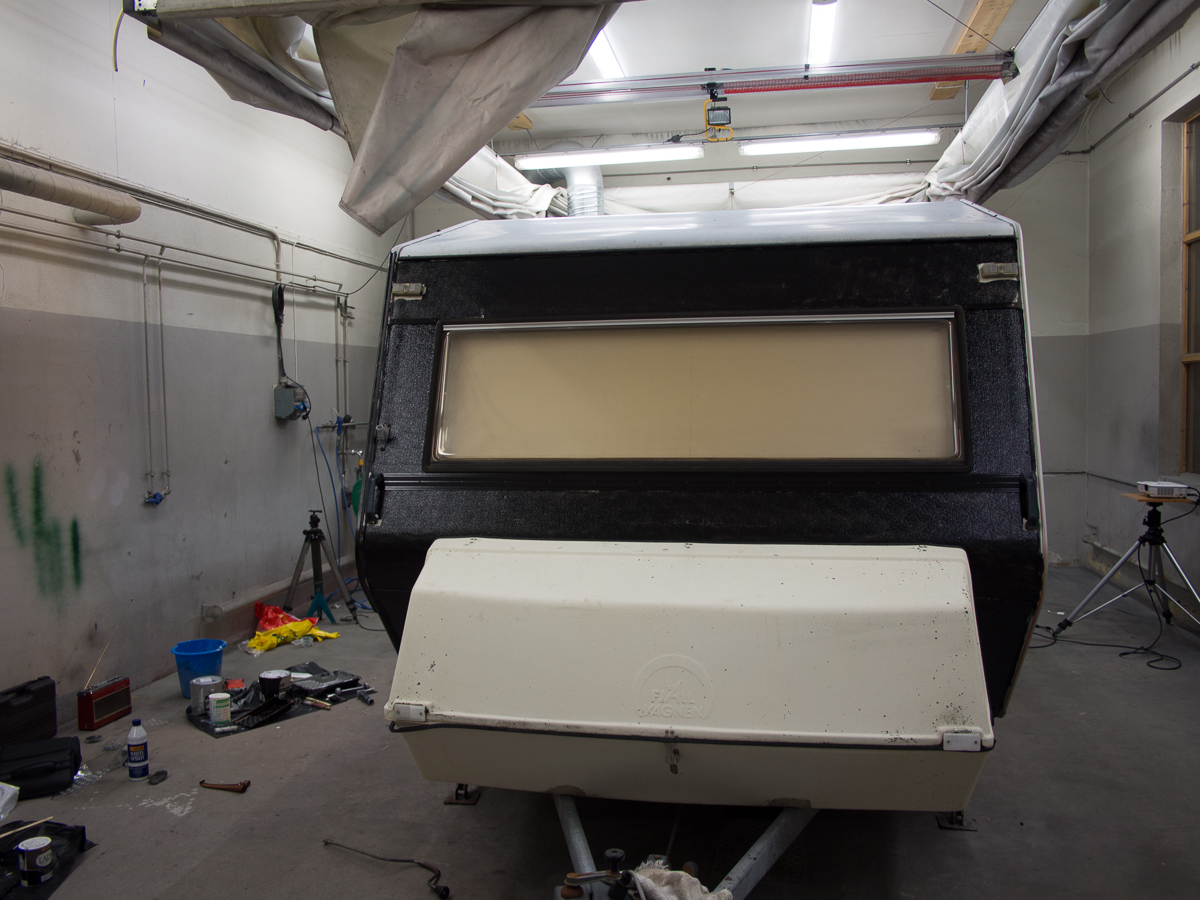
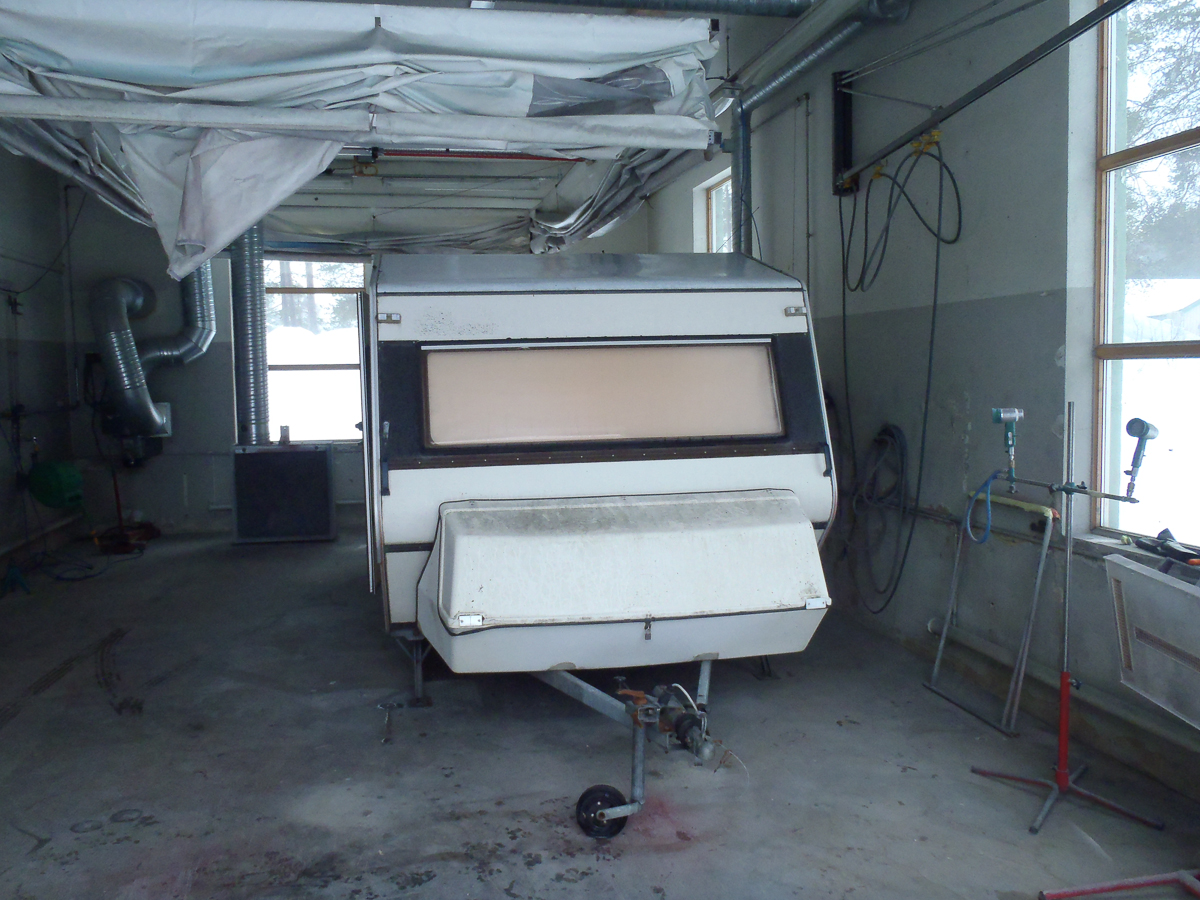
The decoration on the front side is just the plain WPPD logo without any text.
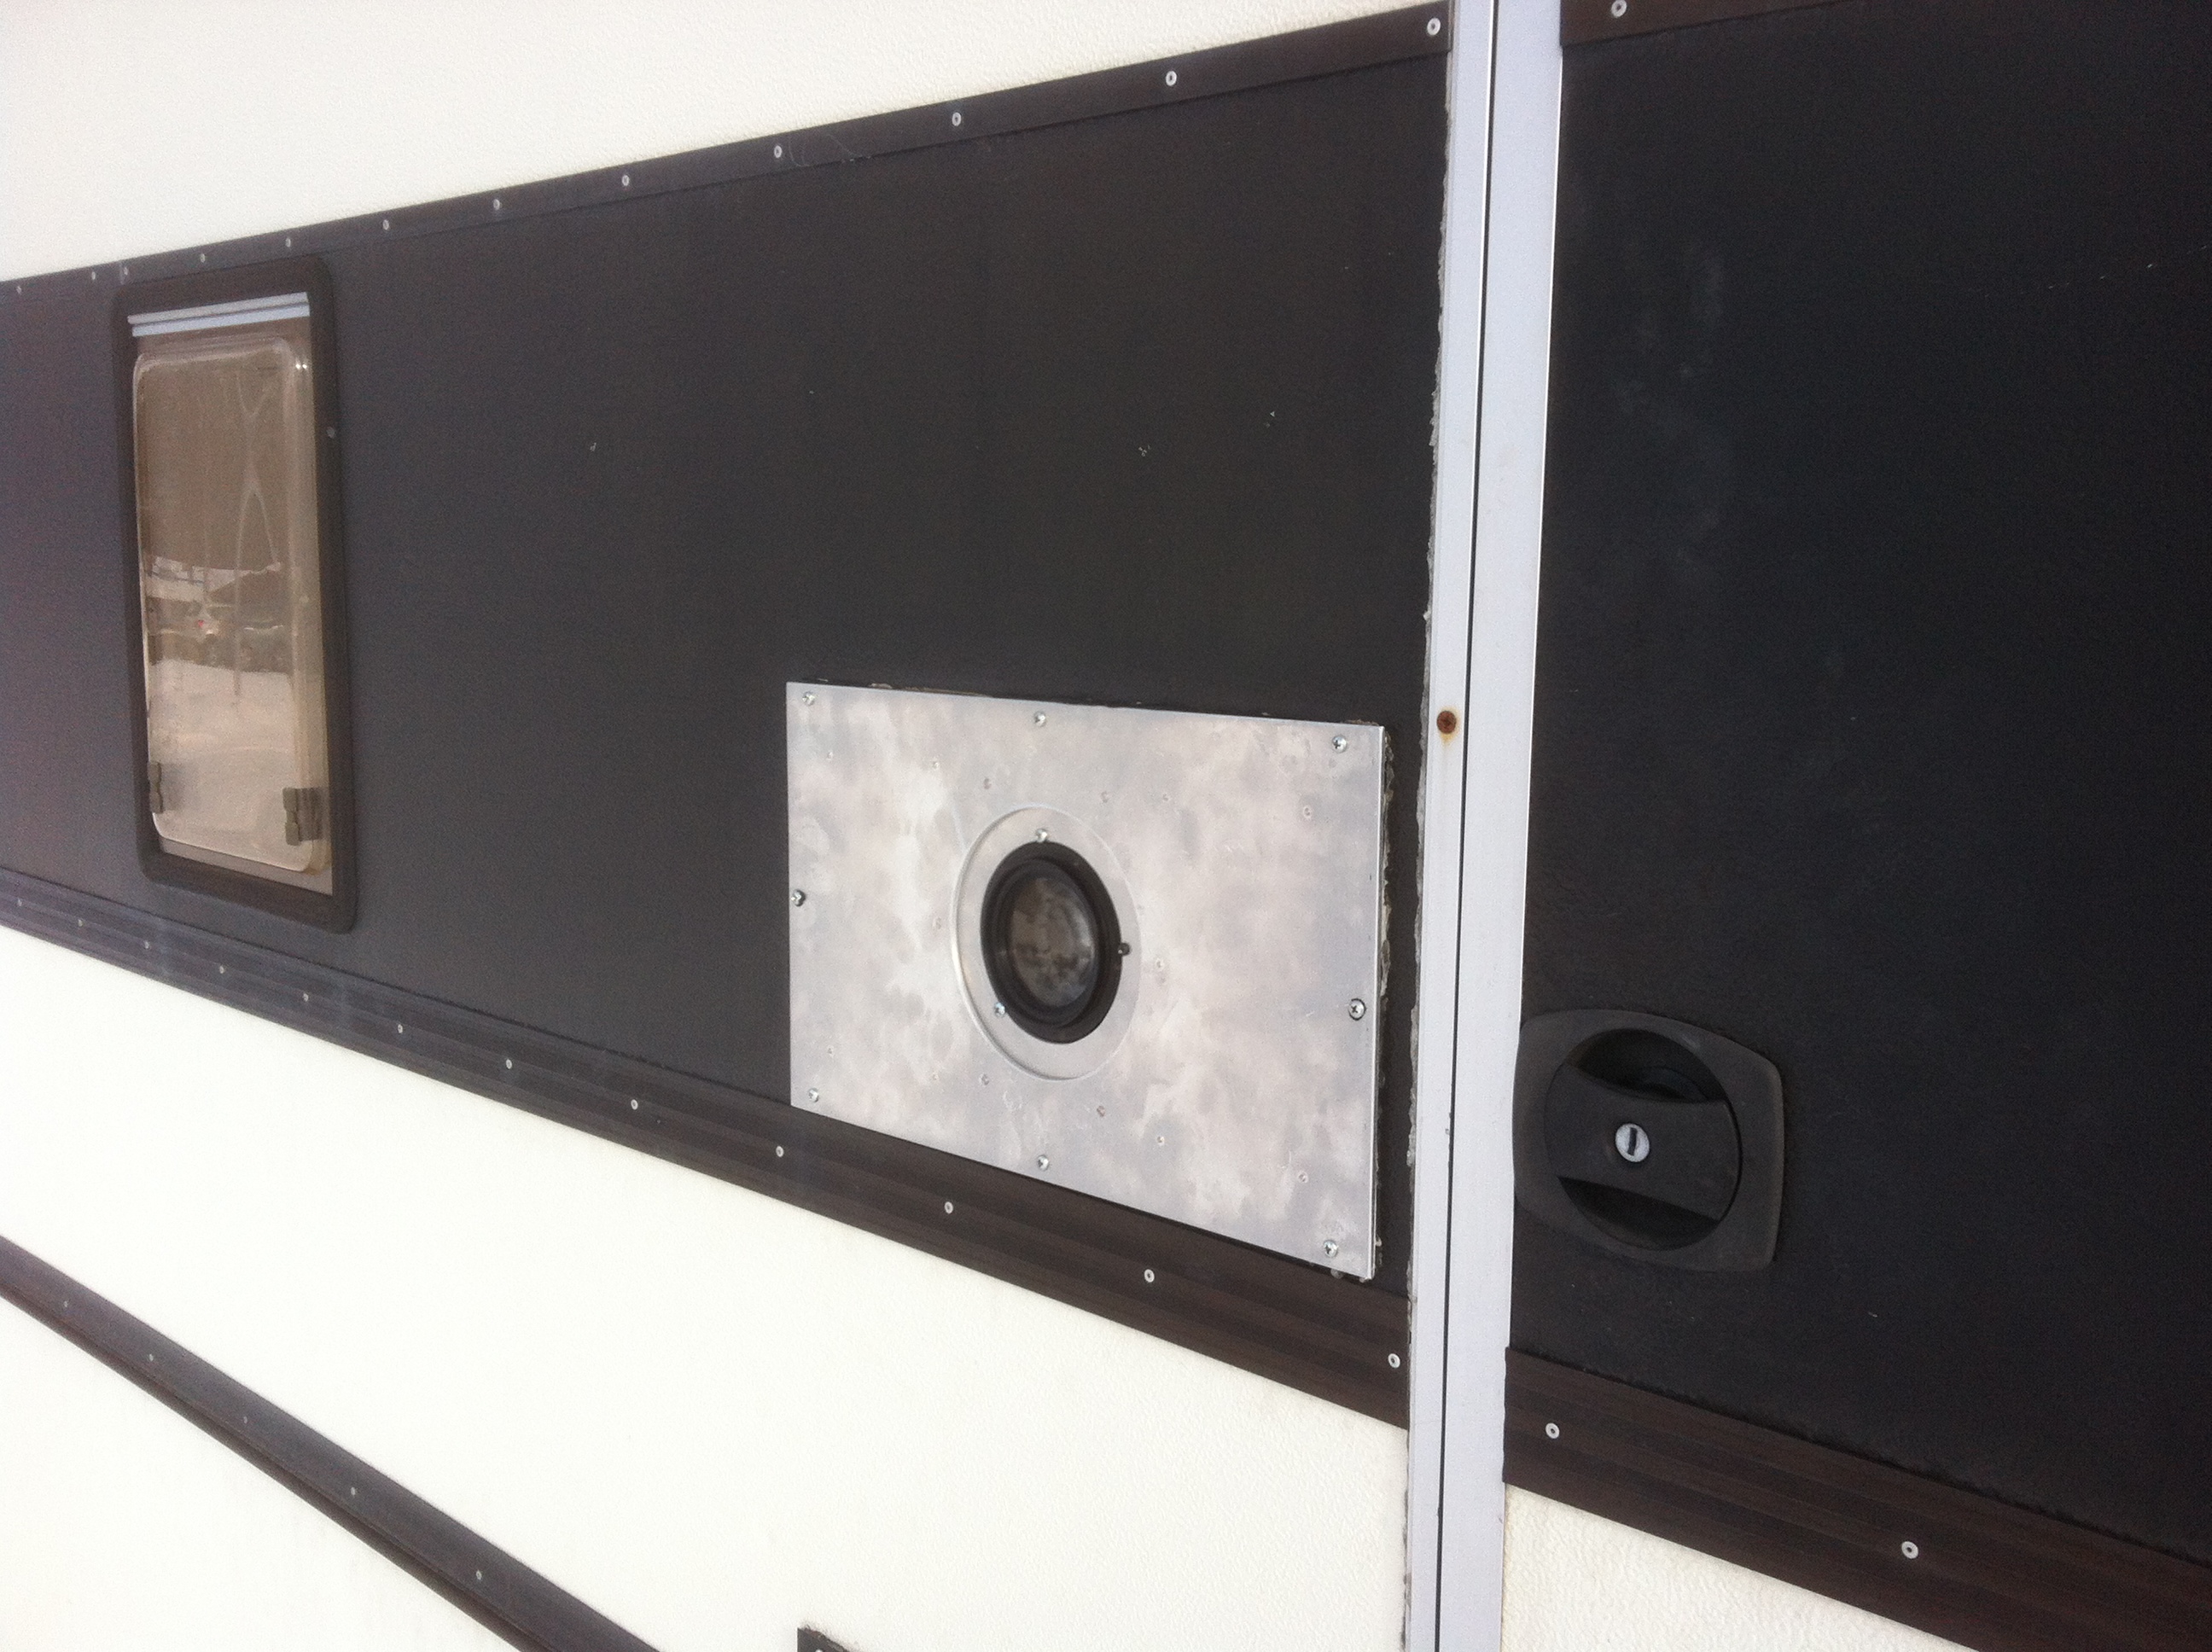
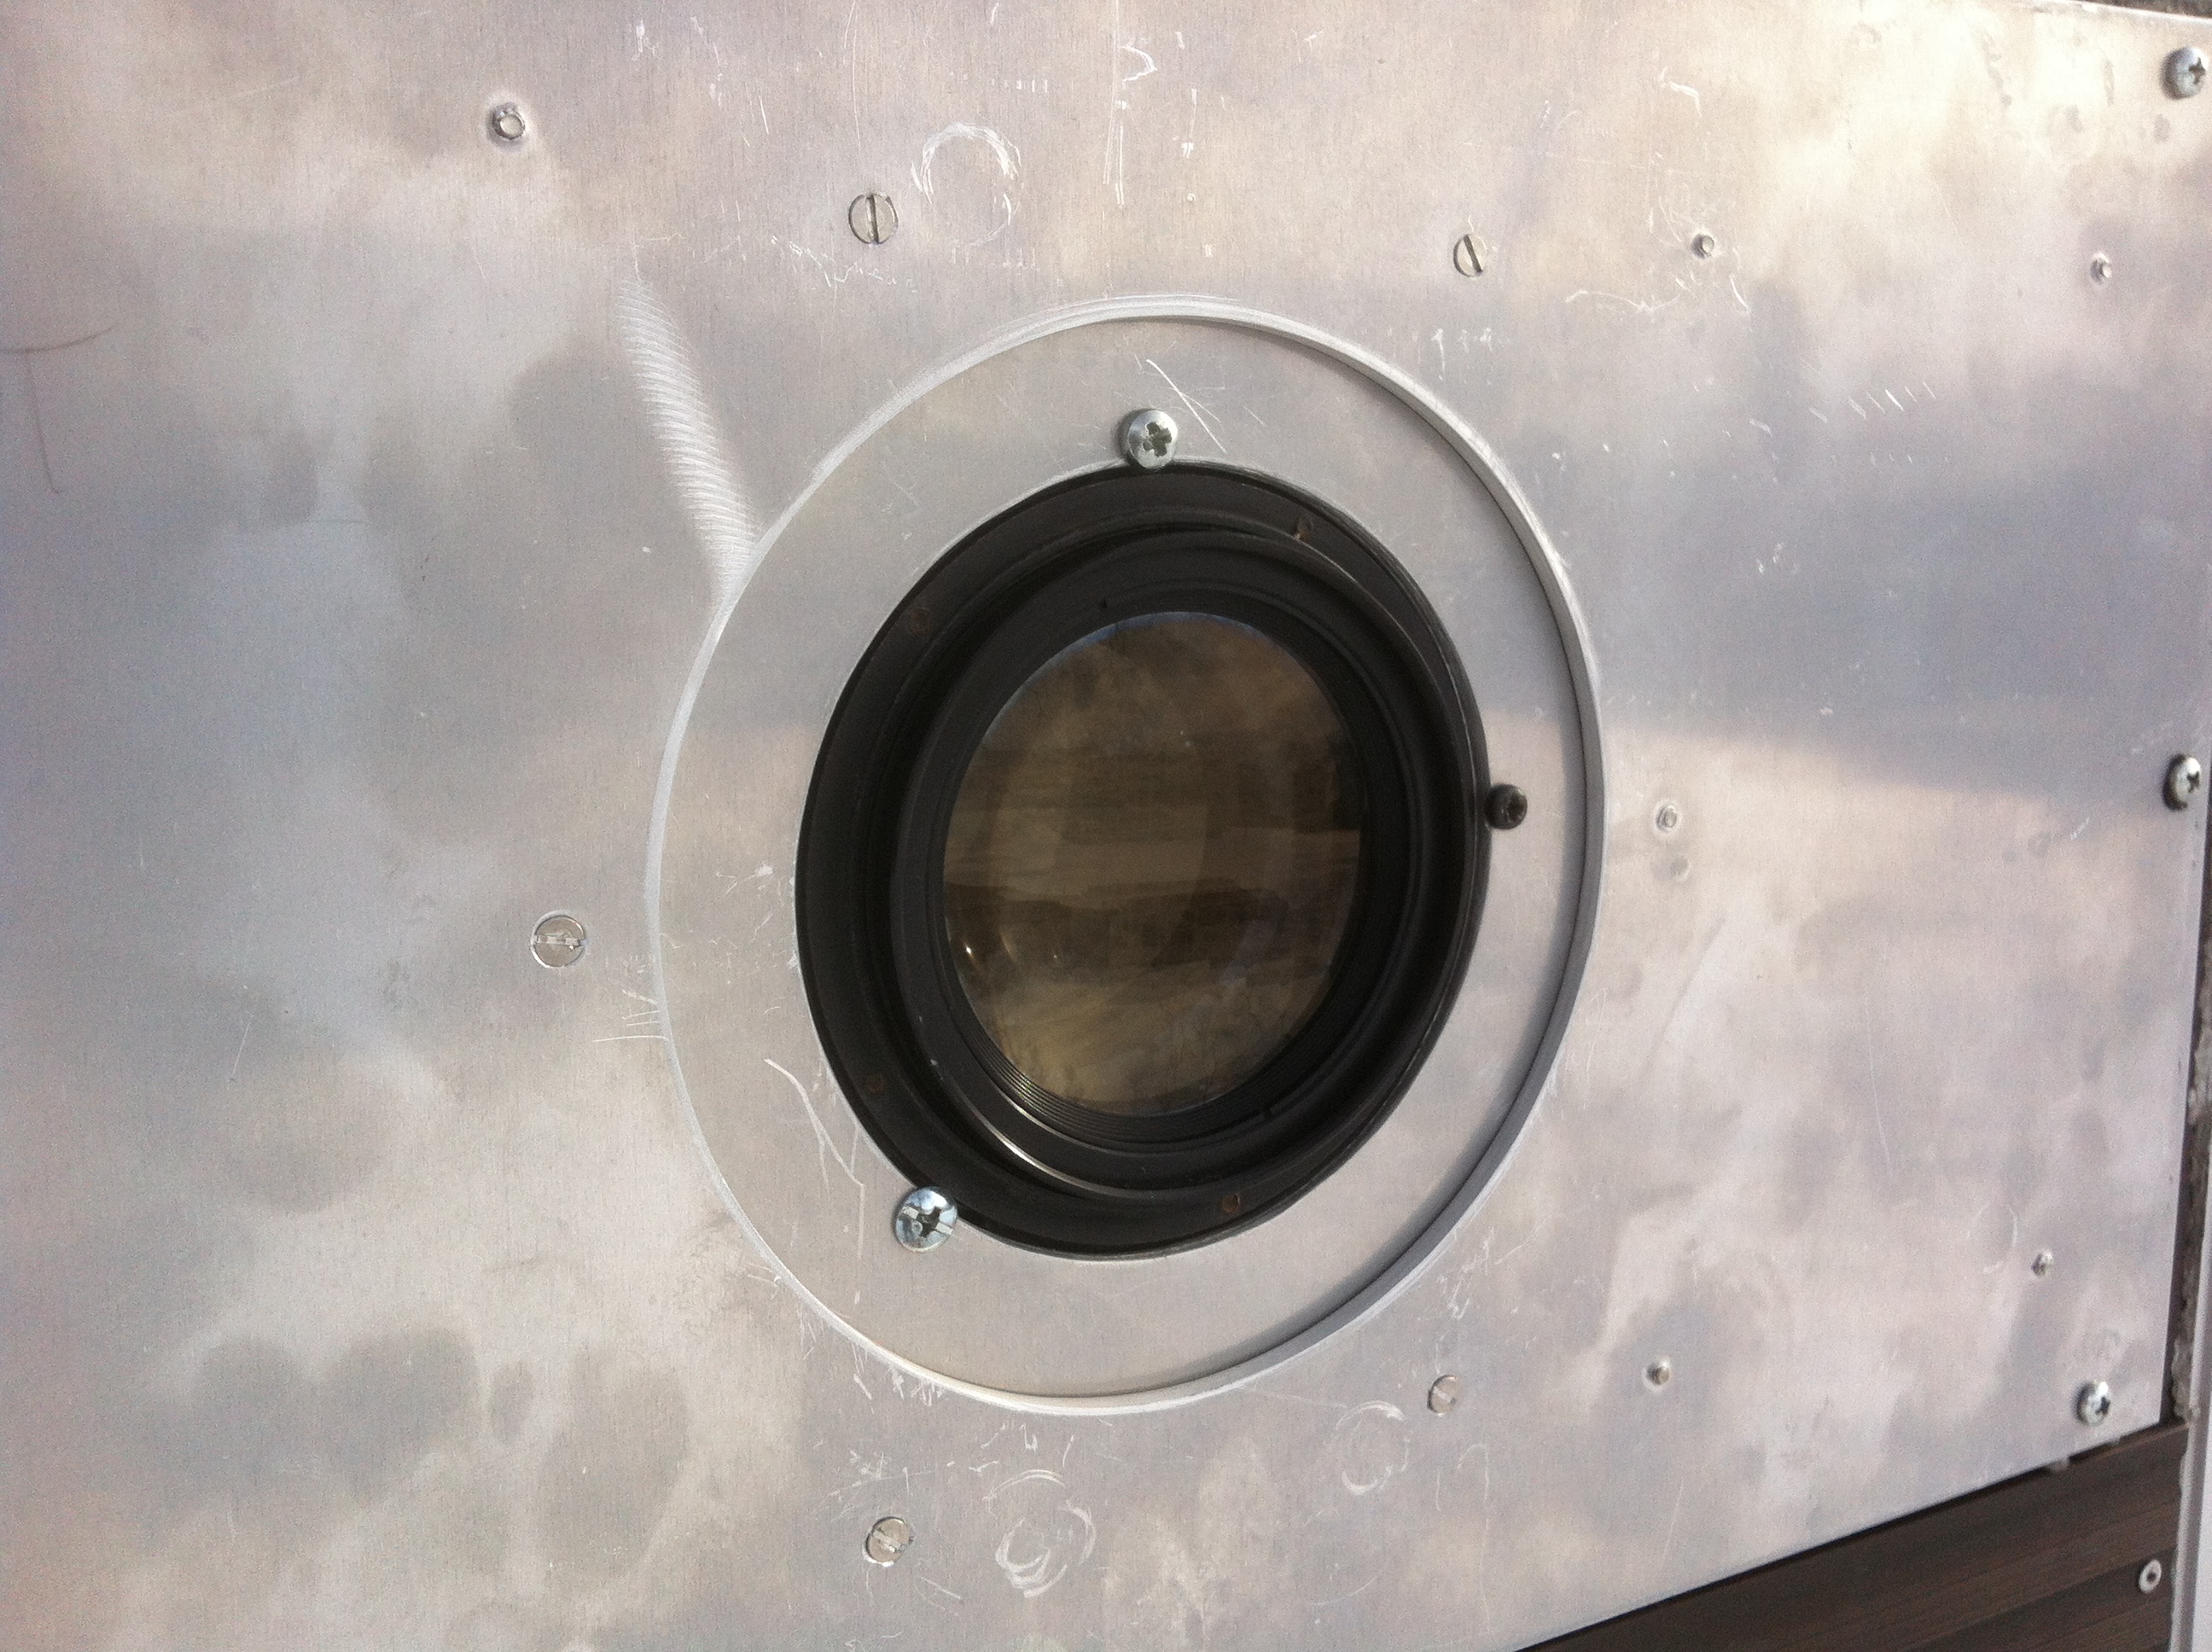
In the middle of the logo a tiny hole do the work.
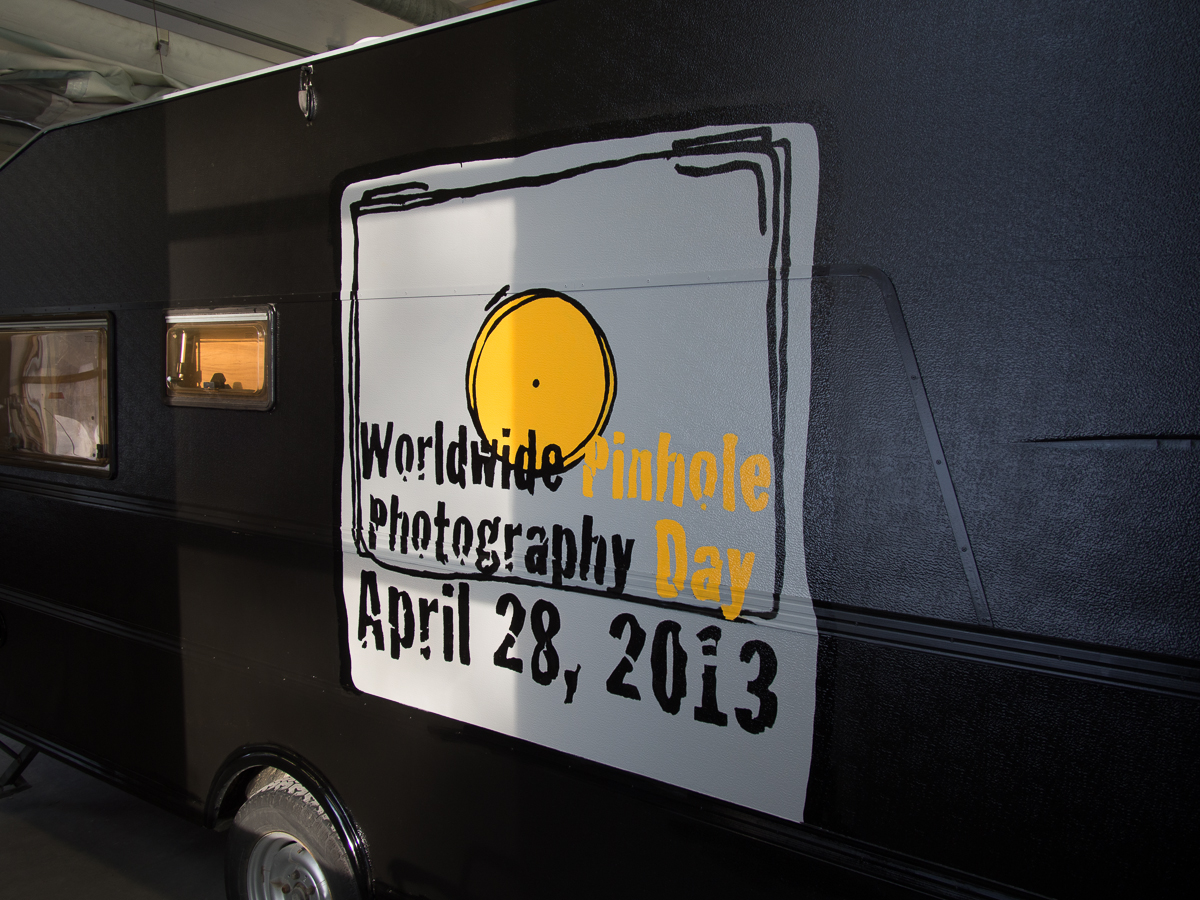
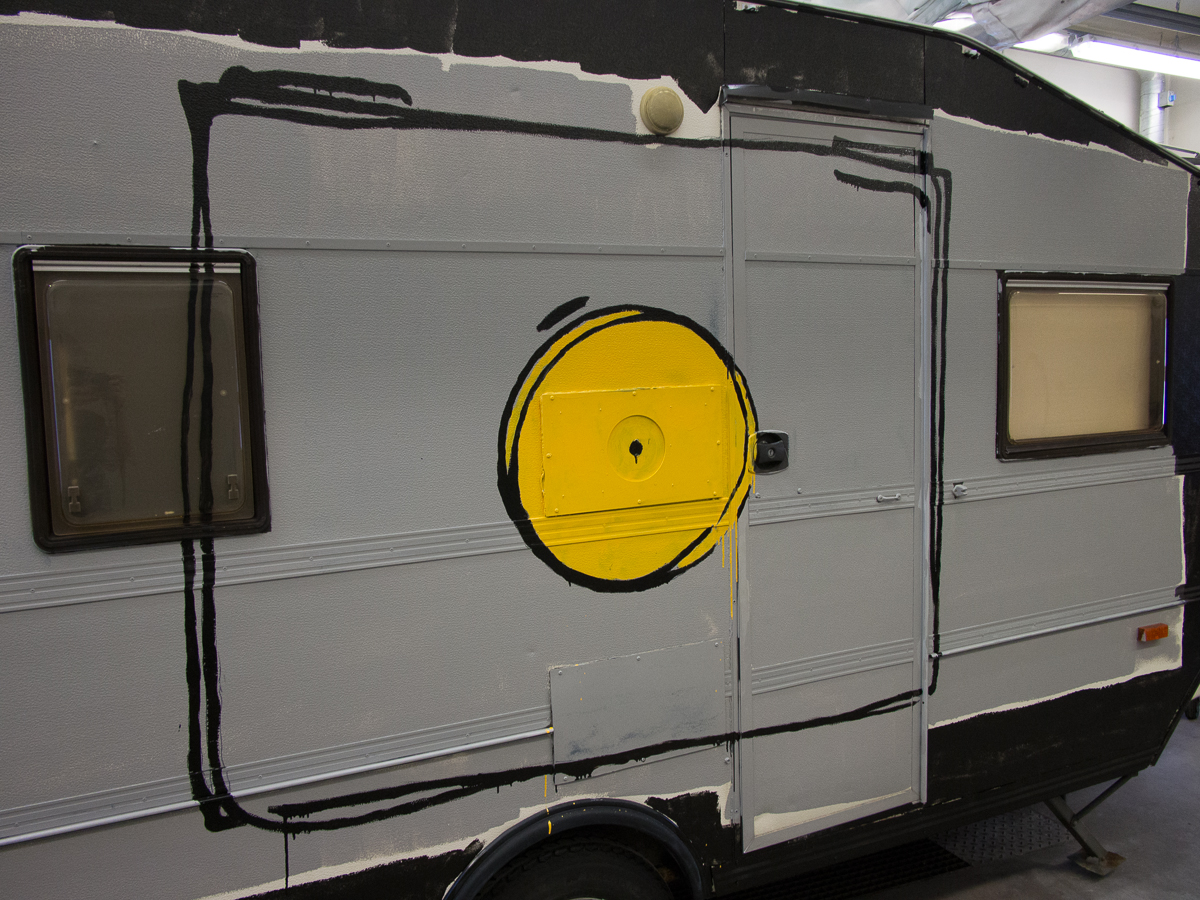
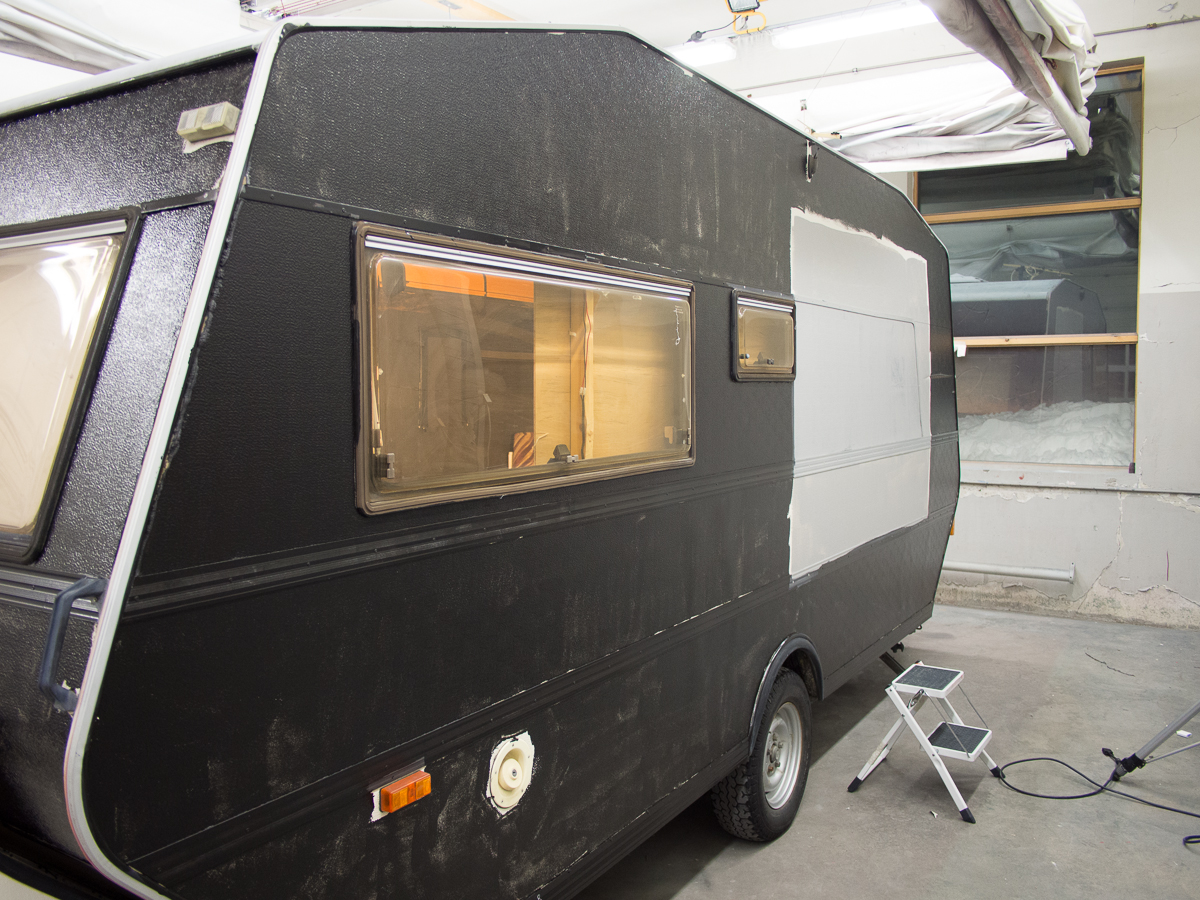
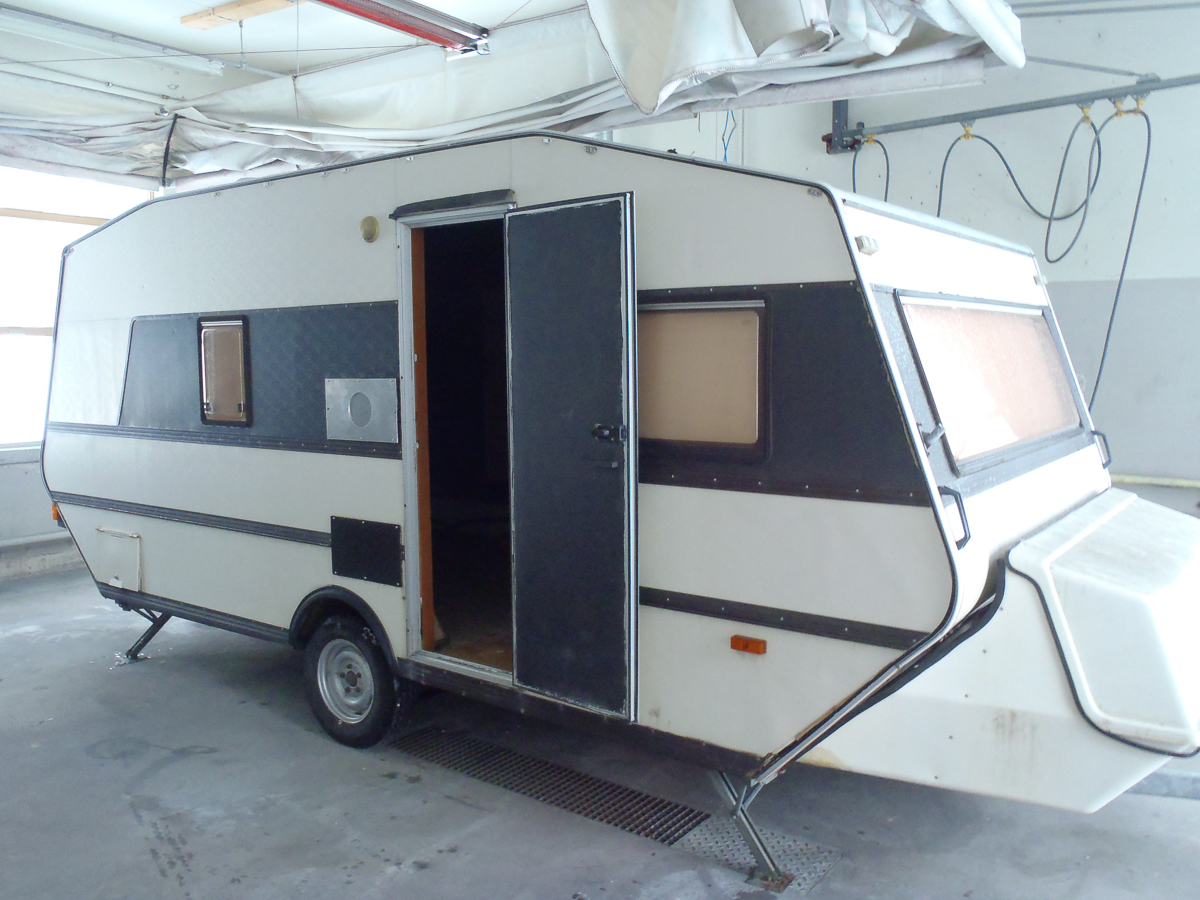
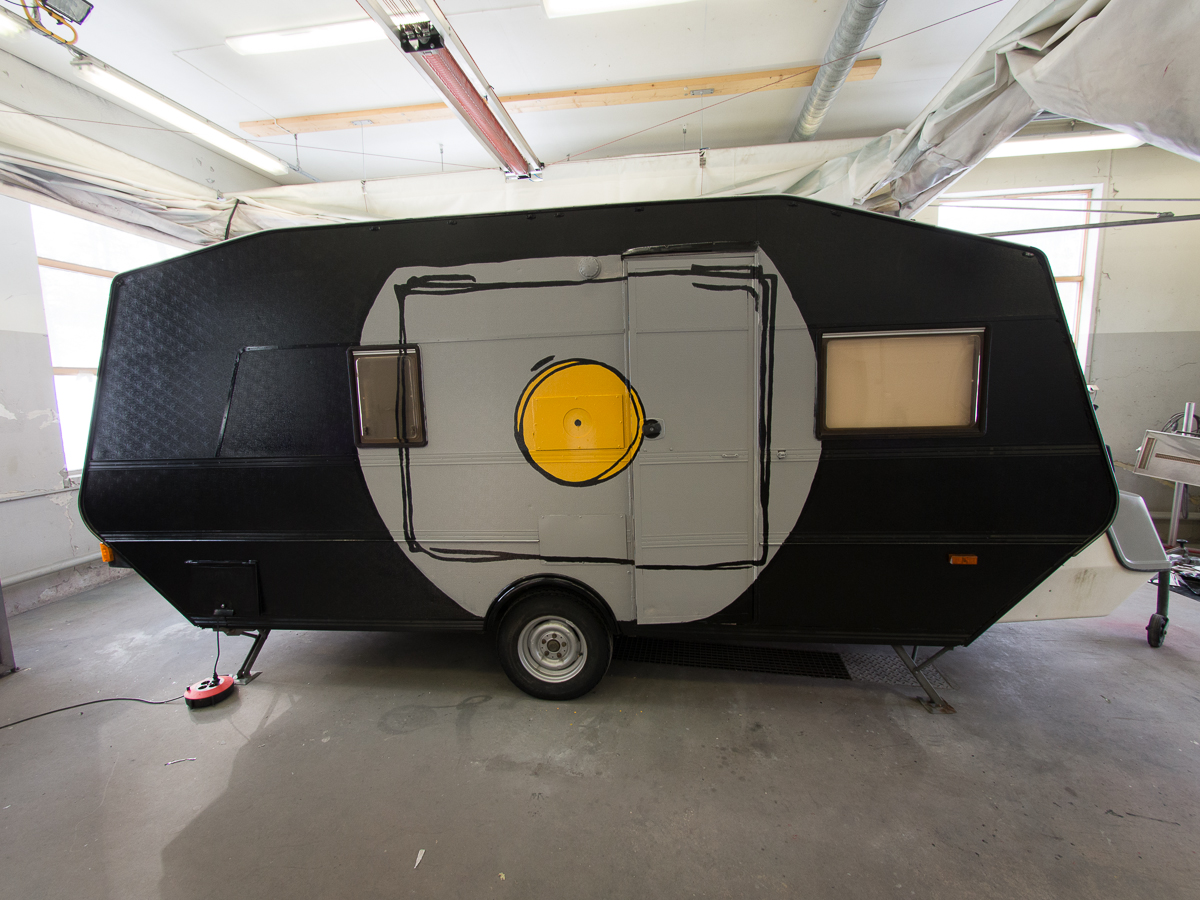
The WPPD 2013 logo as it is painted on the left side of the trailer
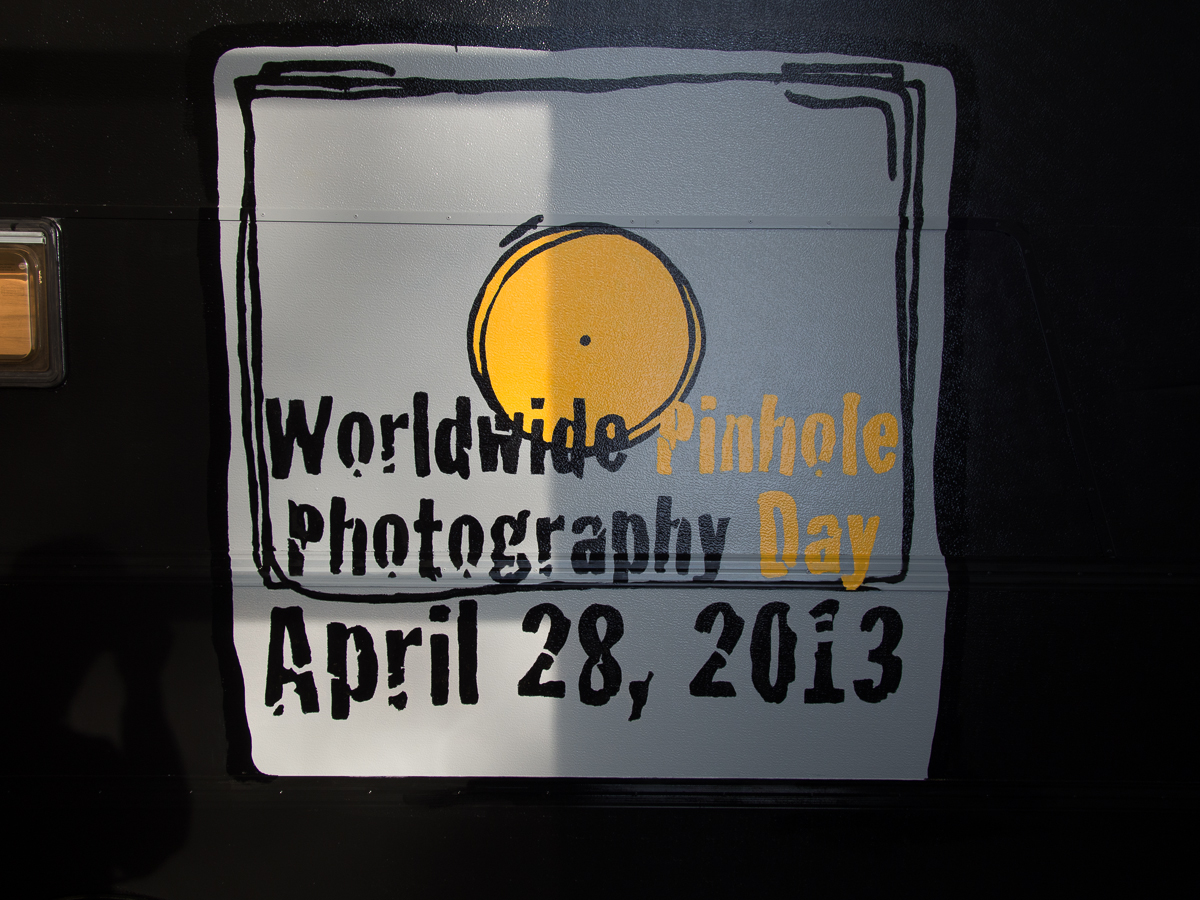
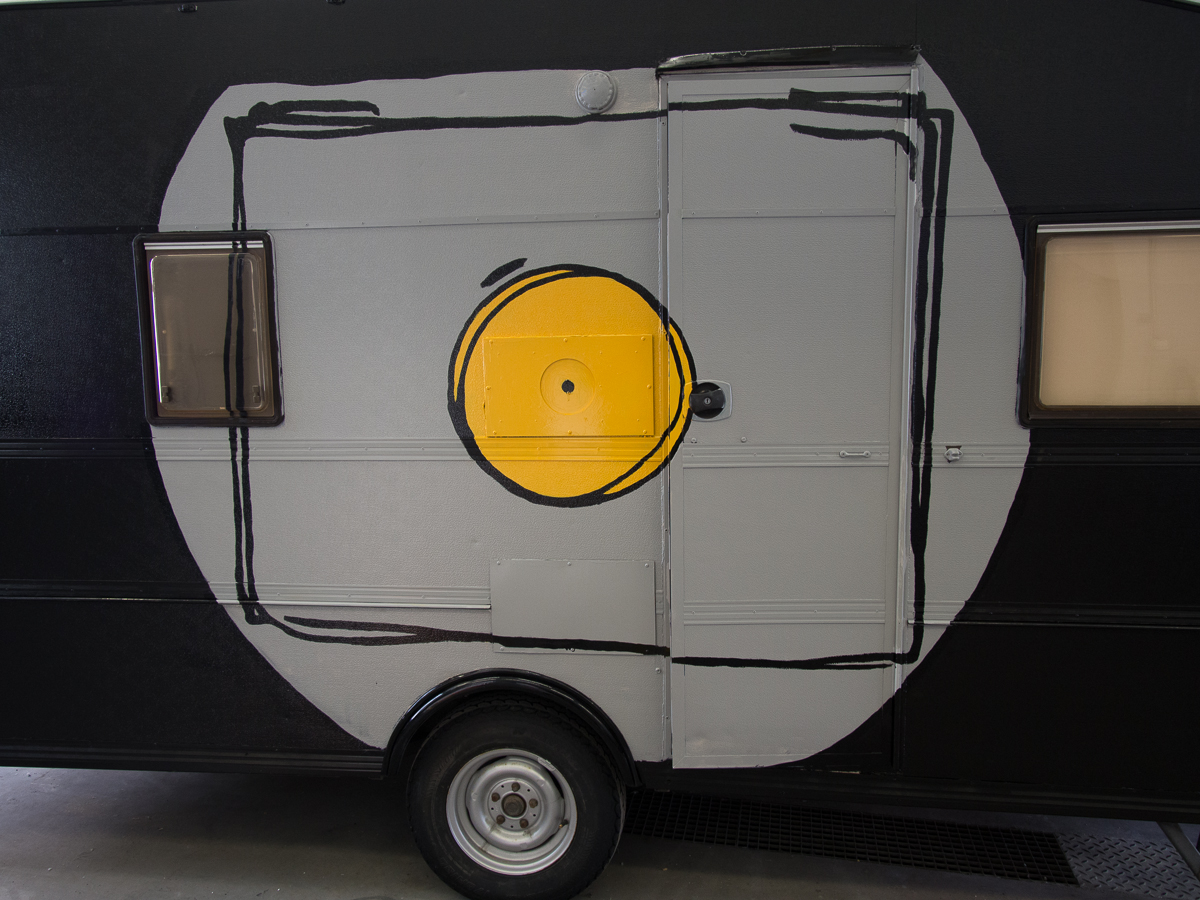
A closer look at the logo on the left side
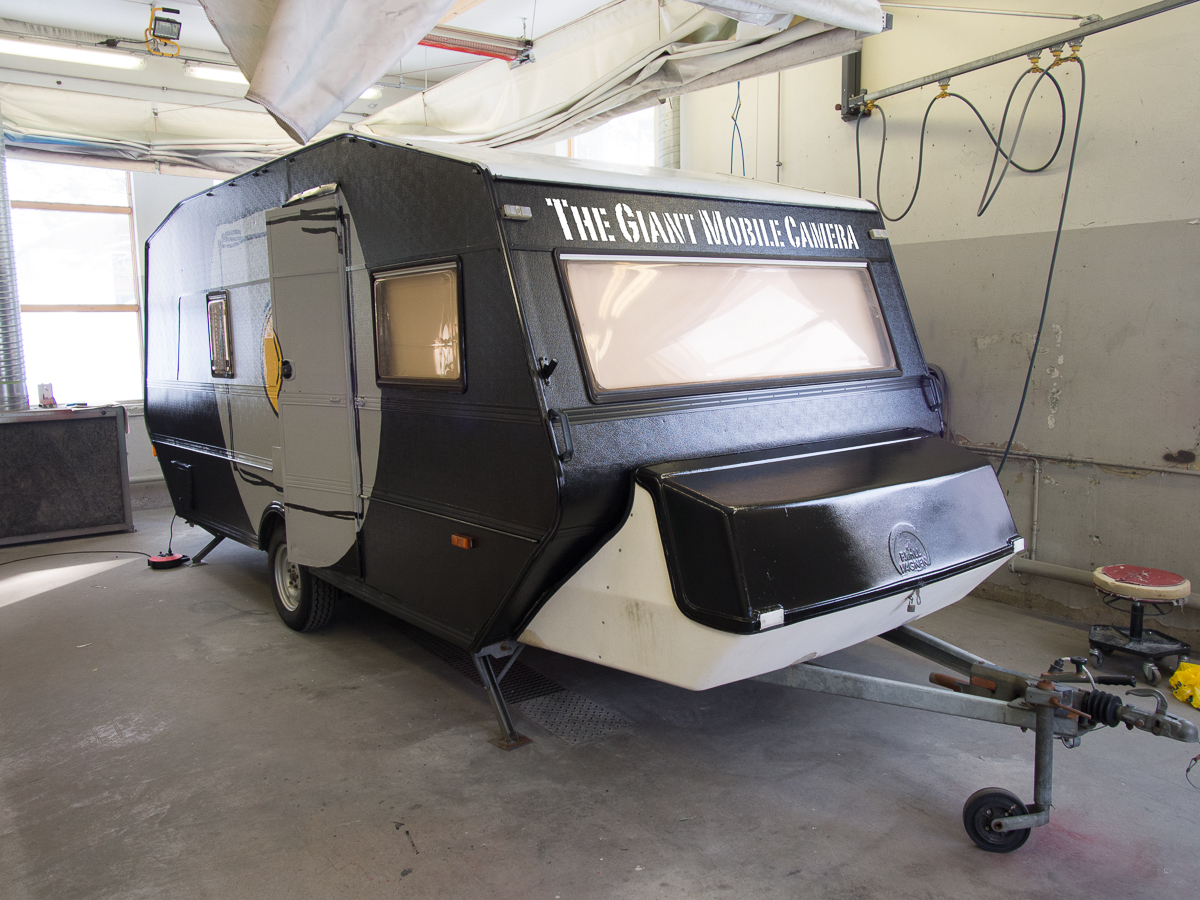
The front of the trailer with «The Giant Mobile Camera» photoshopped in. This is what it will look like when it is finished.