
A Rodenstock Apo-Ronar 600mm f:9 technical lens can now be used in the Cameravan. The lens is mounted to the lens plate from the front of the lens, so it can be handled from the inside of the camera. It can also be mounted on the outside, there are threads both front and back of the lens. A short test showed that a 1:1 photo will fill a 70x100cm film area without problems, and a 2:1 photo will fill even more. That’s some macro lens 🙂
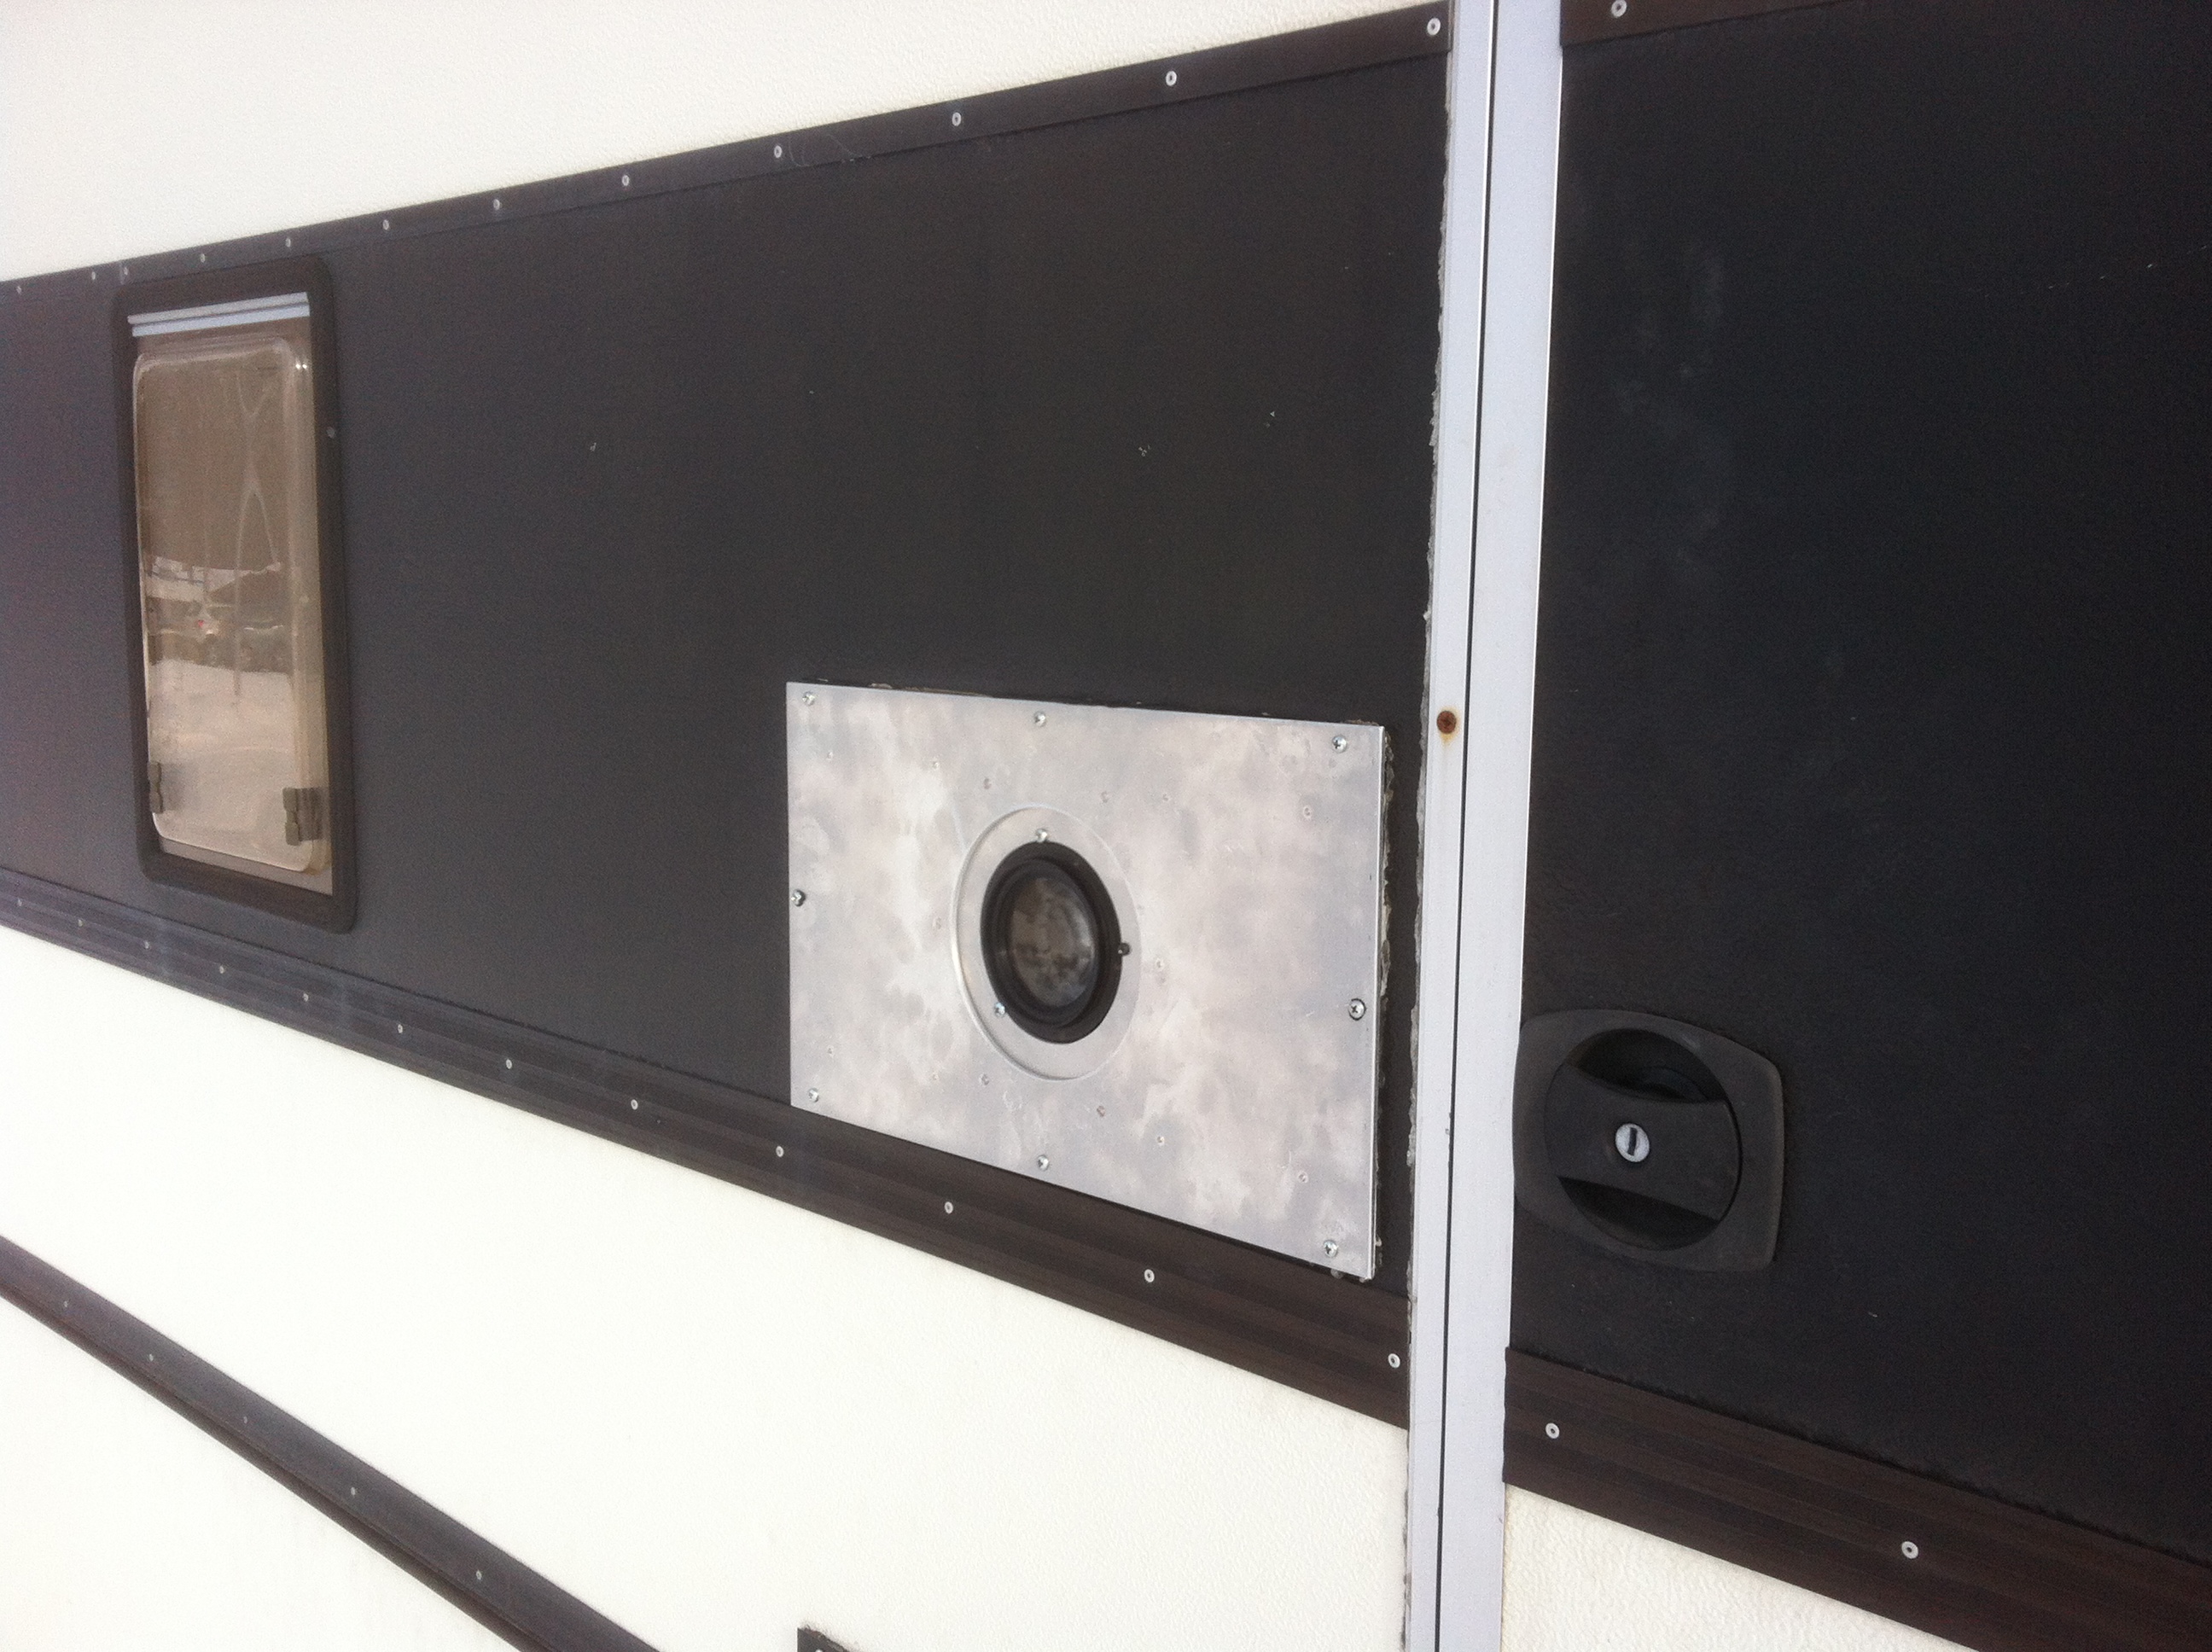
A trailer with a lens. 600mm Apo Ronar seen from the outside of the trailer.
A closer look at the lens:
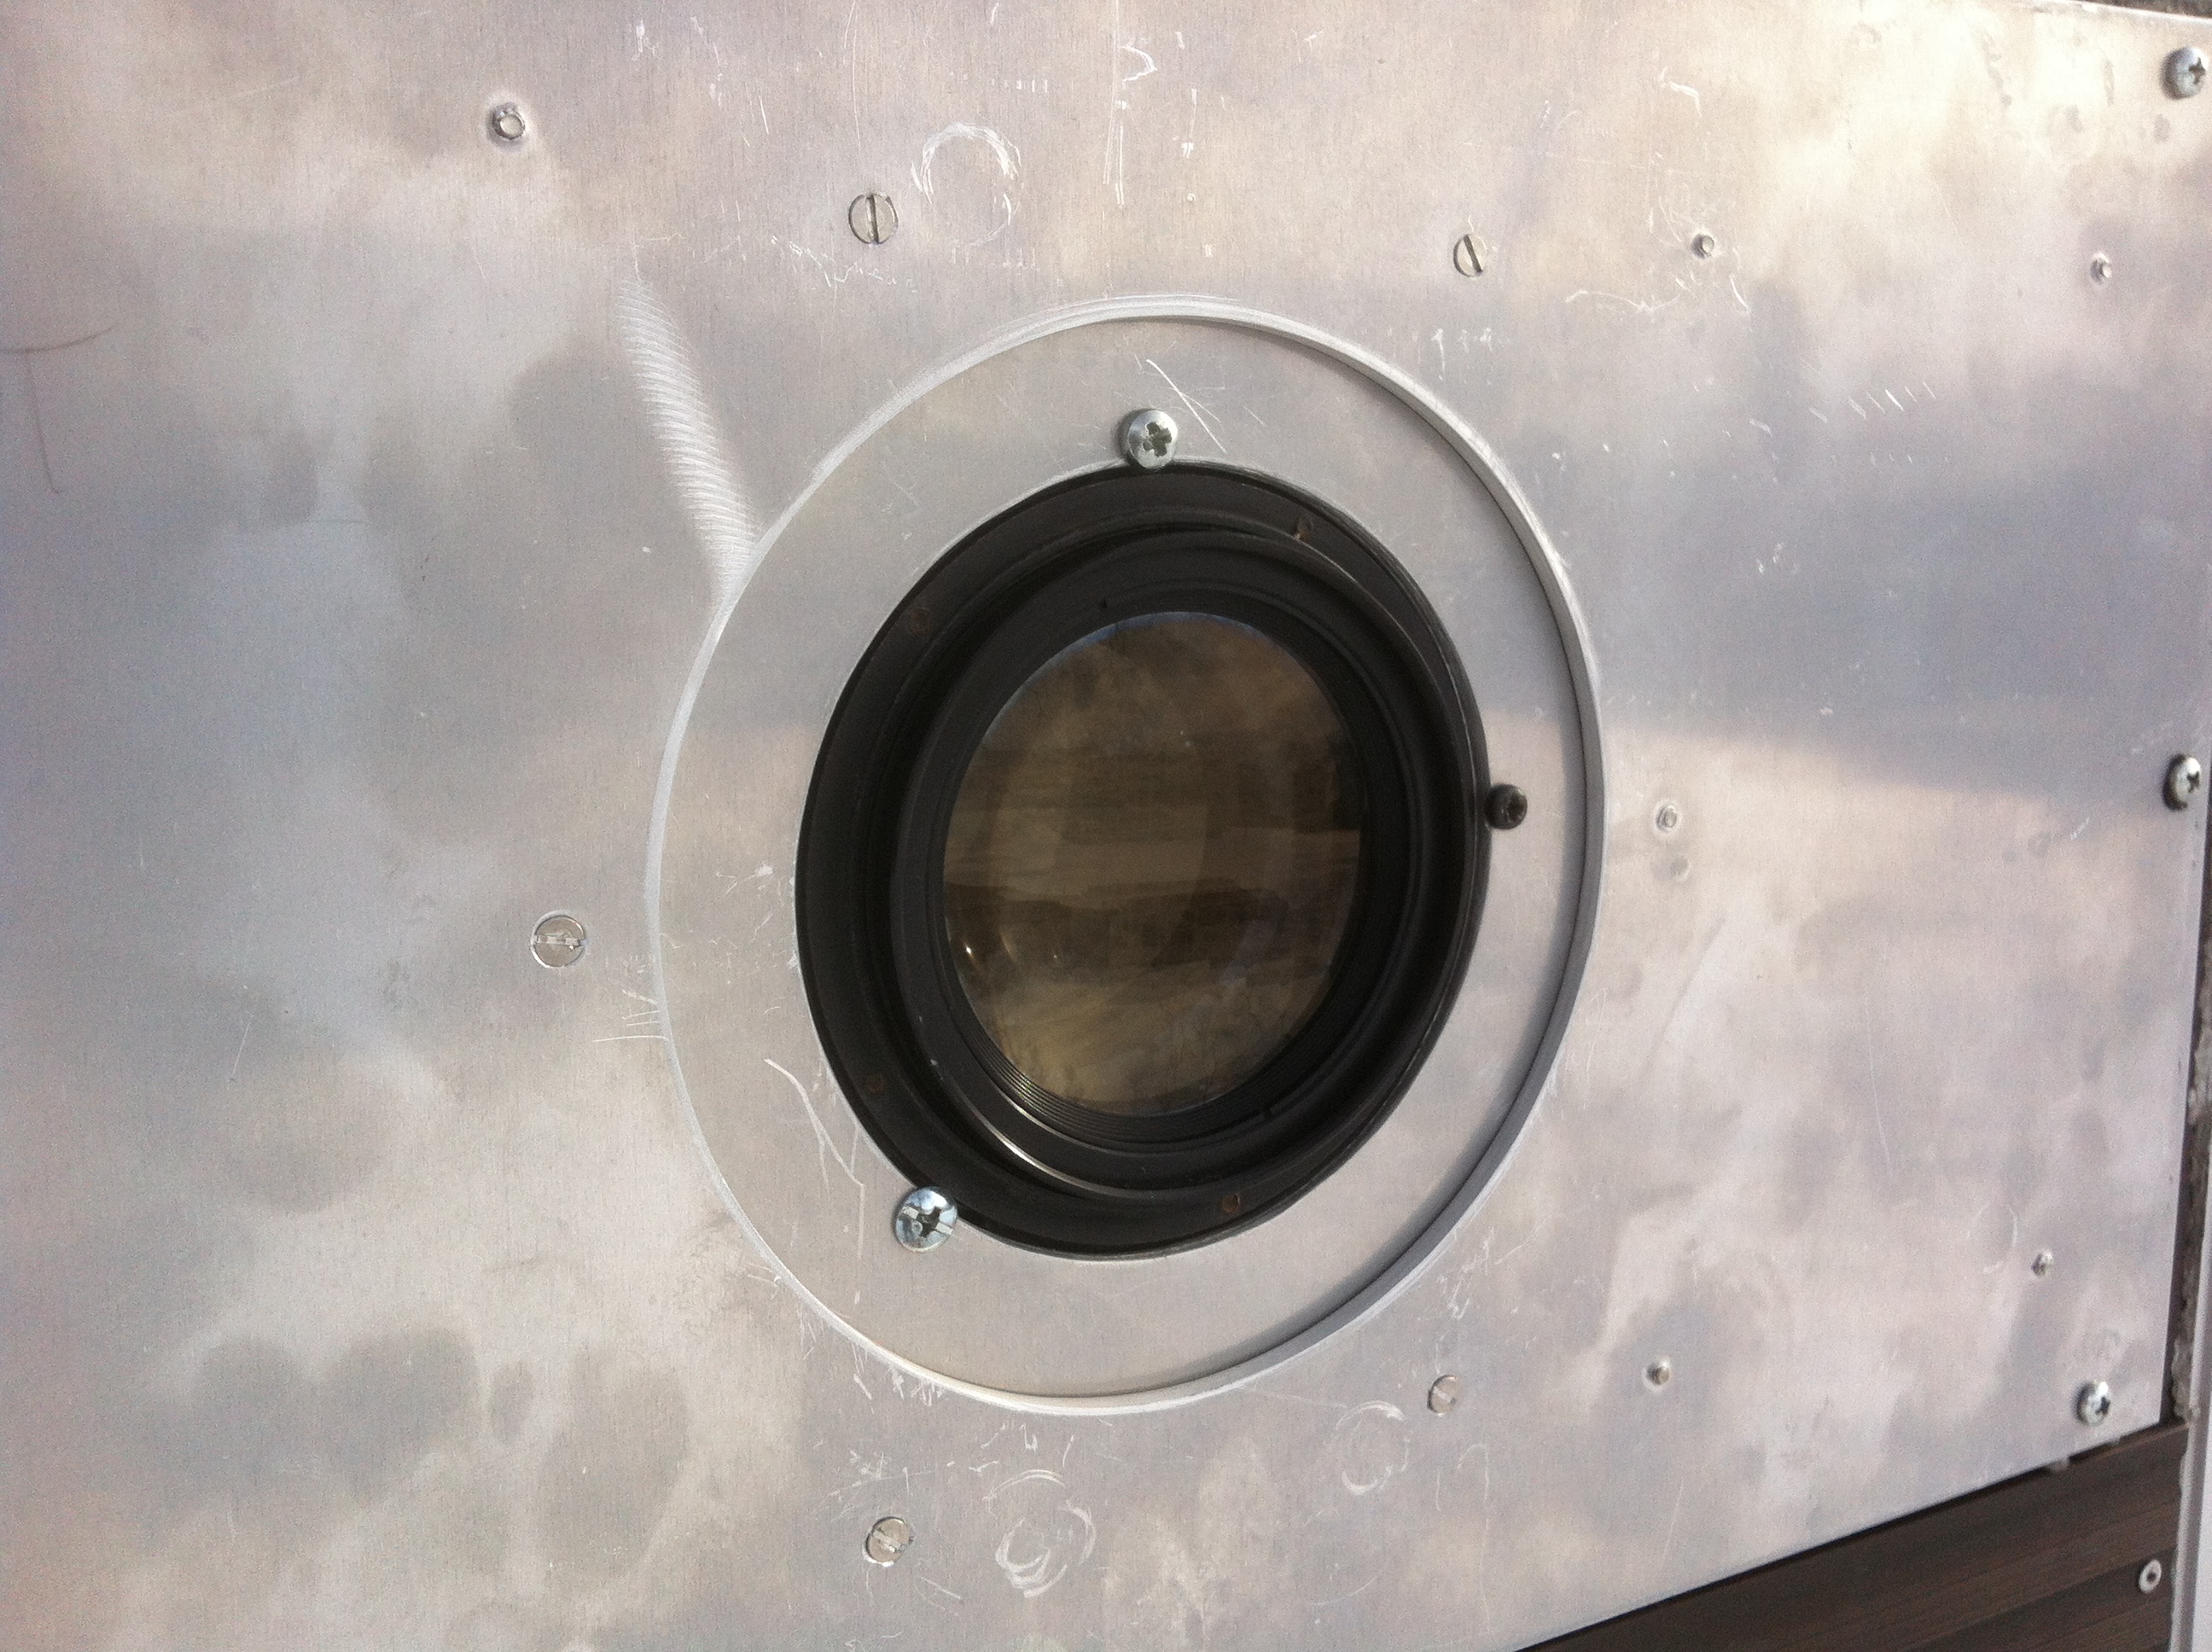
Almost two kilograms of glass in front of the Cameravan.
Next post will give you a picture of what this lens can give inside the Cameravan.


